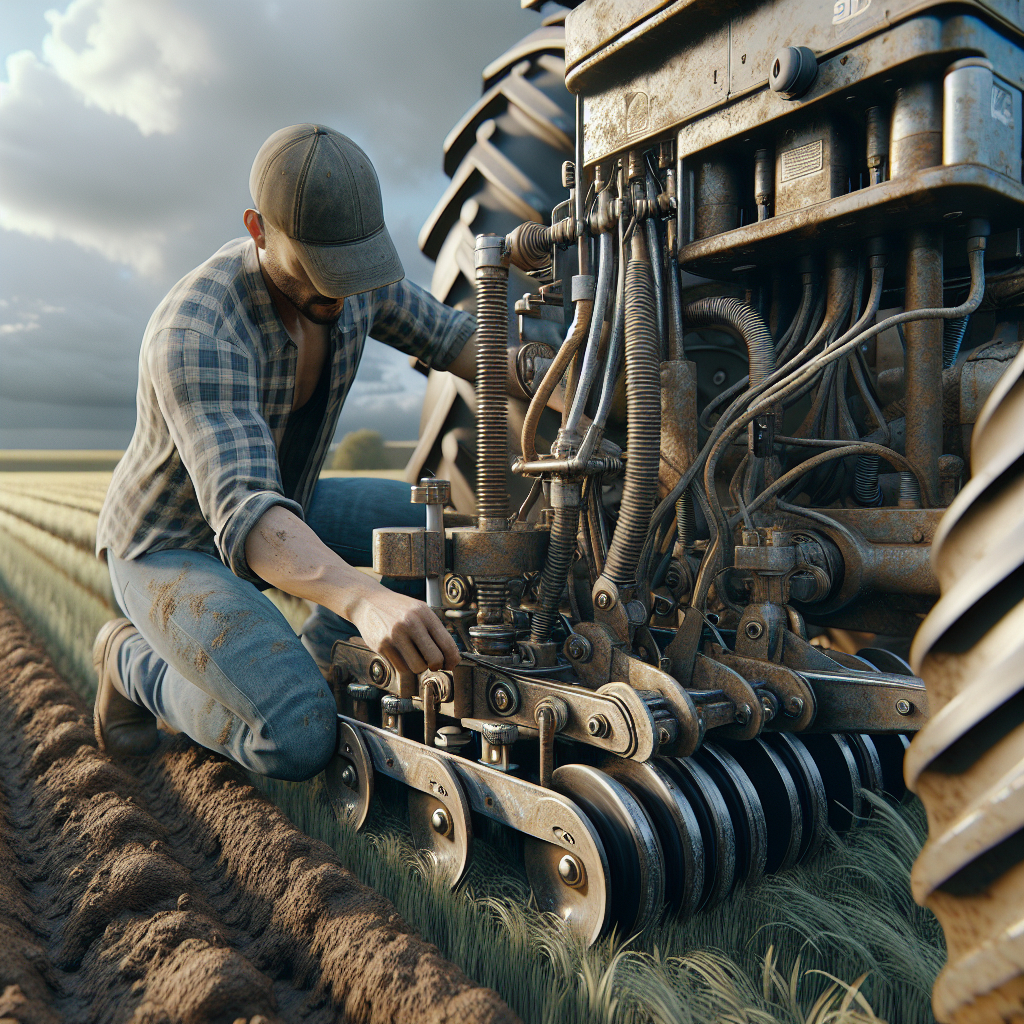
Adjusting your plow for optimal performance is crucial for efficient and effective plowing. Whether you’re preparing your fields for planting or clearing snow from your driveway, the right adjustments can make a significant difference in the quality of your work and the longevity of your equipment. This article will guide you through the essential tips and techniques for adjusting your plow to achieve the best results.
Understanding Your Plow
Before diving into the specifics of adjustment, it’s important to understand the different types of plows and their components. Plows come in various shapes and sizes, each designed for specific tasks. The most common types include moldboard plows, chisel plows, and disc plows. Each type has unique features and adjustment requirements.
Moldboard Plows
Moldboard plows are traditional plows that cut through the soil and turn it over. They are ideal for breaking new ground and burying crop residues. Key components include the moldboard, share, and landside. Proper adjustment of these parts ensures efficient soil turnover and minimal drag.
Chisel Plows
Chisel plows are designed for deep tillage without turning the soil over. They are used to break up compacted soil and improve water infiltration. The main components include shanks, chisels, and springs. Adjusting the depth and spacing of the shanks is crucial for optimal performance.
Disc Plows
Disc plows use concave discs to cut and turn the soil. They are effective in rocky or root-filled soils where moldboard plows might struggle. Key components include the disc blades, axles, and scrapers. Proper alignment and spacing of the discs are essential for efficient plowing.
Basic Adjustments for Optimal Performance
Once you understand the type of plow you’re working with, you can begin making the necessary adjustments. Here are some basic tips for optimizing your plow’s performance:
Setting the Plow Depth
The depth at which your plow operates is critical for achieving the desired soil conditions. Too shallow, and you won’t break up the soil effectively; too deep, and you risk damaging your equipment and overworking your tractor. To set the plow depth:
- Start by consulting your plow’s manual for recommended depth settings.
- Use the depth control lever or hydraulic system on your tractor to adjust the plow’s depth.
- Perform a test run and measure the depth of the furrow. Adjust as necessary until you achieve the desired depth.
Adjusting the Plow Angle
The angle of the plow determines how the soil is cut and turned. Proper angle adjustment ensures efficient soil turnover and reduces drag on your tractor. To adjust the plow angle:
- Check the plow’s manual for recommended angle settings.
- Use the adjustment bolts or hydraulic system to set the plow at the correct angle.
- Perform a test run and observe the soil turnover. Adjust the angle as needed to achieve a clean and even furrow.
Leveling the Plow
A level plow ensures consistent soil penetration and reduces wear on the equipment. To level your plow:
- Park your tractor on a flat surface and lower the plow to the ground.
- Use a level to check the plow’s alignment from side to side.
- Adjust the leveling bolts or turnbuckles until the plow is perfectly level.
Advanced Adjustments for Specific Conditions
In addition to basic adjustments, you may need to make more advanced tweaks to your plow to handle specific soil conditions or tasks. Here are some tips for fine-tuning your plow for optimal performance:
Handling Hard or Compacted Soil
Hard or compacted soil can be challenging to plow, but with the right adjustments, you can achieve good results:
- Increase the plow depth to break through the compacted layer.
- Use a chisel plow or subsoiler to loosen the soil before using a moldboard or disc plow.
- Adjust the plow angle to provide more aggressive soil penetration.
Dealing with Rocky or Root-Filled Soil
Rocky or root-filled soil can cause significant wear and tear on your plow. To minimize damage and improve performance:
- Use a disc plow, which is better suited for handling obstacles.
- Adjust the disc spacing to allow for better clearance of rocks and roots.
- Install rock guards or root cutters to protect the plow blades.
Plowing Wet or Heavy Soil
Wet or heavy soil can be difficult to work with and may cause your plow to clog. To improve performance in these conditions:
- Wait for the soil to dry out slightly before plowing.
- Use a wider plow share to reduce the amount of soil being turned at once.
- Adjust the plow angle to create a more gradual soil turnover.
Maintenance Tips for Prolonged Plow Life
Regular maintenance is essential for keeping your plow in top condition and ensuring optimal performance. Here are some maintenance tips to follow:
Cleaning and Lubrication
After each use, clean your plow thoroughly to remove soil, debris, and moisture. This helps prevent rust and corrosion. Additionally, lubricate all moving parts, such as hinges, bolts, and springs, to ensure smooth operation.
Inspecting for Wear and Damage
Regularly inspect your plow for signs of wear and damage. Check the blades, shares, and discs for nicks, cracks, or excessive wear. Replace any damaged or worn parts promptly to maintain optimal performance.
Storing Your Plow
Proper storage is crucial for prolonging the life of your plow. Store your plow in a dry, sheltered location to protect it from the elements. If possible, elevate the plow off the ground to prevent moisture buildup and rust.
Conclusion
Adjusting your plow for optimal performance involves understanding your equipment, making basic and advanced adjustments, and performing regular maintenance. By following the tips and techniques outlined in this article, you can ensure efficient and effective plowing, whether you’re preparing your fields for planting or clearing snow from your driveway. Remember, the key to successful plowing is attention to detail and a willingness to make the necessary adjustments to achieve the best results.
