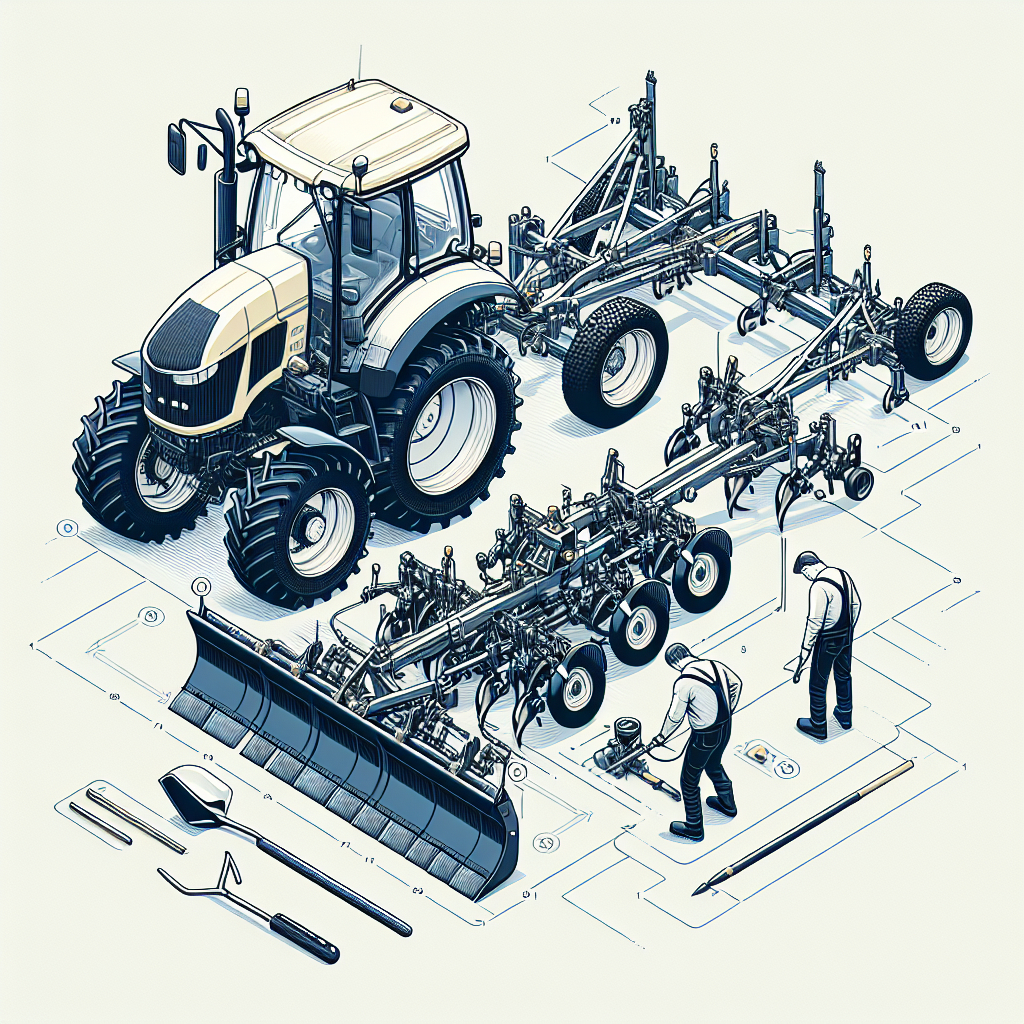
Attaching and setting up a plow on your tractor is a crucial task for any farmer or landowner looking to prepare their fields for planting. This guide will walk you through the essential steps and tips to ensure your plow is properly attached and set up for optimal performance.
Choosing the Right Plow for Your Tractor
Before you can attach a plow to your tractor, it’s important to choose the right type of plow that suits your needs and is compatible with your tractor. There are several types of plows available, including moldboard plows, chisel plows, and disc plows. Each type has its own advantages and is suited for different soil conditions and farming practices.
Moldboard Plows
Moldboard plows are traditional plows that are excellent for turning over soil and burying crop residues. They are ideal for breaking new ground and preparing fields for planting. However, they require more horsepower and can be more challenging to pull through heavy or compacted soils.
Chisel Plows
Chisel plows are designed to break up and aerate the soil without turning it over completely. They are great for reducing soil compaction and improving water infiltration. Chisel plows are typically used for conservation tillage practices and require less horsepower than moldboard plows.
Disc Plows
Disc plows use a series of concave discs to cut through the soil and are effective in rocky or root-filled fields. They are less likely to clog and can handle tougher conditions than moldboard or chisel plows. Disc plows are also easier to maintain and require less frequent adjustments.
Attaching the Plow to Your Tractor
Once you have selected the appropriate plow for your needs, the next step is to attach it to your tractor. This process involves several key steps to ensure a secure and effective connection.
Step 1: Positioning the Tractor and Plow
Start by positioning your tractor on a flat, level surface. This will make it easier to align the plow with the tractor’s hitch. Ensure that the tractor is turned off and the parking brake is engaged for safety.
Step 2: Aligning the Hitch
Most plows are designed to attach to a three-point hitch system. Align the plow’s hitch points with the tractor’s lower lift arms. You may need to adjust the height of the lift arms to match the plow’s hitch points. Once aligned, insert the hitch pins and secure them with cotter pins or clips.
Step 3: Connecting the Top Link
The top link is a crucial component that helps stabilize the plow and maintain the correct angle during operation. Attach the top link to the plow and adjust its length to ensure the plow is level when lowered. Secure the top link with a pin and clip.
Step 4: Checking the Hydraulic Connections
If your plow requires hydraulic connections for lifting or adjusting, connect the hydraulic hoses to the tractor’s hydraulic outlets. Ensure that the connections are secure and free of leaks. Test the hydraulic system to verify that the plow raises and lowers smoothly.
Setting Up the Plow for Optimal Performance
With the plow securely attached to your tractor, the next step is to set it up for optimal performance. Proper setup is essential for achieving the desired soil conditions and ensuring efficient operation.
Adjusting the Plow Depth
The depth at which the plow operates is critical for effective soil preparation. Most plows have adjustable depth settings that can be controlled through the tractor’s hydraulic system or manual adjustments. Set the plow to the desired depth based on your soil conditions and the type of crop you plan to plant.
Leveling the Plow
A level plow ensures even soil turnover and consistent results. Use the tractor’s lift arms and top link to adjust the plow’s angle and ensure it is level from side to side. You may need to make fine adjustments in the field to account for variations in soil conditions.
Setting the Plow Angle
The angle of the plow blades affects how the soil is cut and turned. Adjust the plow angle to achieve the desired soil inversion and residue coverage. This may involve adjusting the pitch of the plow or the angle of the individual blades.
Testing and Fine-Tuning
Before you begin plowing your entire field, it’s a good idea to test the setup on a small section. Observe how the plow performs and make any necessary adjustments to the depth, leveling, or angle. Fine-tuning these settings will help you achieve the best results and avoid potential issues during full-scale plowing.
Maintenance and Safety Tips
Proper maintenance and safety practices are essential for ensuring the longevity and safe operation of your plow and tractor. Here are some key tips to keep in mind:
Regular Maintenance
- Inspect the plow blades and replace any that are worn or damaged.
- Check the hitch points and hydraulic connections for signs of wear or leaks.
- Lubricate moving parts regularly to prevent rust and ensure smooth operation.
- Clean the plow after each use to remove soil and debris that can cause corrosion.
Safety Precautions
- Always turn off the tractor and engage the parking brake before making adjustments or repairs.
- Wear appropriate personal protective equipment, such as gloves and safety glasses.
- Be aware of your surroundings and avoid plowing near obstacles or steep slopes.
- Follow the manufacturer’s guidelines for safe operation and maintenance of your plow and tractor.
By following these tips and guidelines, you can ensure that your plow is properly attached and set up for optimal performance. Proper setup and maintenance will not only improve the efficiency of your plowing operations but also extend the life of your equipment.
