Maintaining a plow after a demanding season can significantly extend its lifespan and ensure peak performance when the next winter storm arrives. Proper cleaning and storage help prevent corrosion, protect critical components, and reduce costly repairs. The following guide provides practical, step-by-step advice for plow owners looking to preserve their equipment and maximize its longevity.
Cleaning the Plow: Removing Debris and Residue
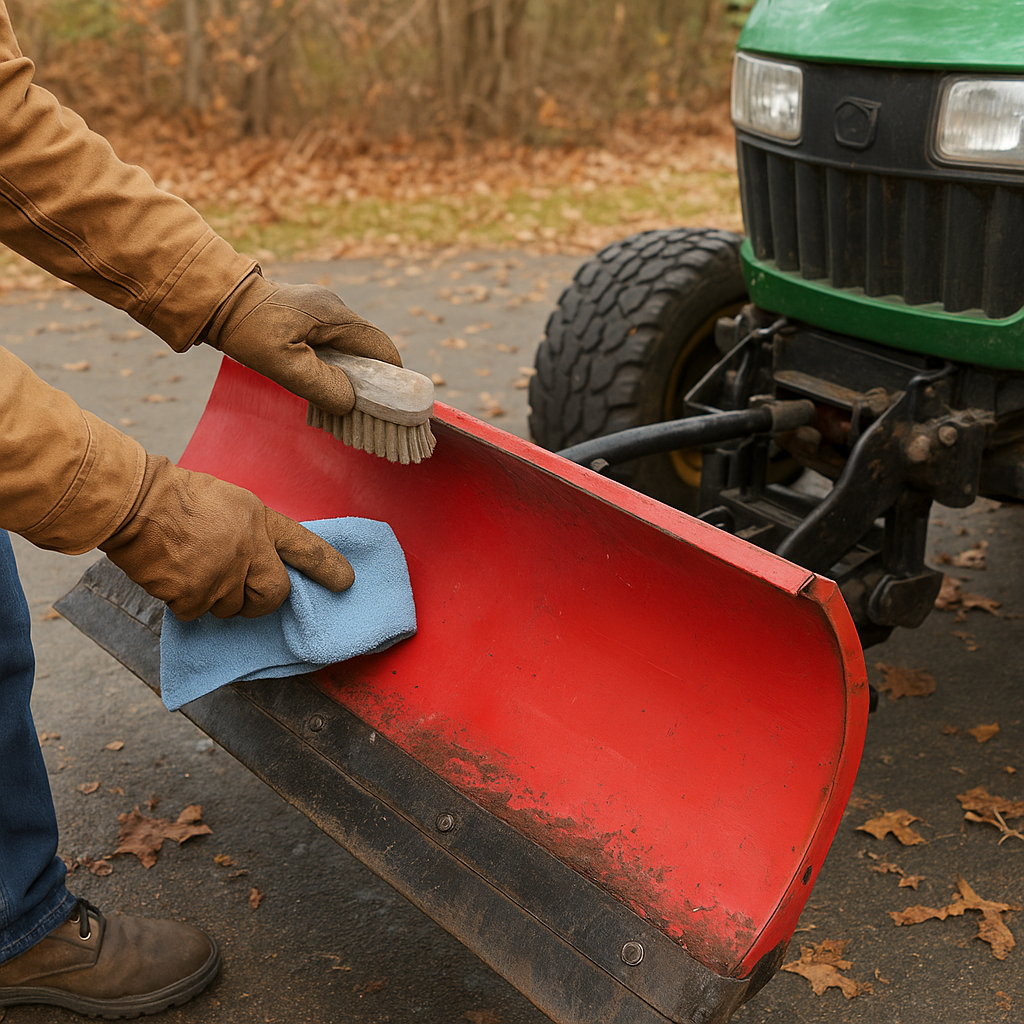
Before any protective measures, you must perform a thorough cleaning. Road salt, mud, and grit can accelerate wear and lead to rust if left on surfaces. Follow these steps to ensure all contaminants are eliminated:
- Disconnect the plow from the vehicle and place it on stable blocks or stands to access all areas safely.
- Use a high-pressure washer to blast away loose dirt and debris. Pay special attention to crevices where salt often accumulates.
- Apply a biodegradable degreaser to moving parts such as hinges, pivot pins, and cylinders. Let it soak for 10–15 minutes before rinsing.
- Inspect hydraulic hoses and connections for leaks or cracks; clean around fittings to remove sludge.
- Wipe down metal surfaces with clean rags to pick up any remaining moisture and particles.
- Allow the plow to air dry completely in a well-ventilated area, or use compressed air to speed up drying in tight spaces.
Protecting Metal Surfaces and Coatings
Once the plow is clean and dry, applying protective treatments will help ward off oxidation and mechanical wear.
Rust Inhibitor Application
- Choose a corrosion-resistant spray or fluid film designed for heavy-duty equipment.
- Cover all steel edges, bolts, and joints with a thin, even layer of inhibitor. A light mist is often sufficient; avoid drips.
- Wipe off excess with a cloth to ensure an even coat and prevent dust from sticking.
Lubricating Moving Components
- Apply a high-quality lubricant or grease to pivot points, pins, and bushings.
- Work the plow through its full range of motion after greasing to distribute the lubricant evenly.
- Check hydraulic cylinder rods for scratches; use a silicone-based spray to protect the smooth rod surfaces.
Proper surface protection not only shields against moisture but also ensures smooth operation when the plow is reassembled.
Preparing for Long-Term Storage
Storing your plow correctly prevents damage from environmental factors like humidity, pests, and temperature fluctuations. Implement these strategies for secure winter storage:
Selecting a Storage Location
- Choose a dry, covered area such as a shed or barn with good ventilation.
- Avoid locations prone to flooding or damp concrete floors; elevating the plow on pallets or blocks will keep it off the ground.
- Ensure adequate lighting and space around the plow for inspections during storage.
Positioning and Support
- Set the plow on sturdy stands or wooden blocks to relieve stress on the cutting edge and hydraulic system.
- Keep the blade in a slightly raised position to avoid uneven weight distribution and potential warping of the moldboard.
- Cover the plow with a breathable tarp to prevent dust accumulation while allowing moisture to escape.
Proper positioning and a controlled environment are key to avoiding fatigue cracks, bent components, and other structural issues.
Seasonal Maintenance and Pre-Use Inspection
Even in storage, a periodic check will catch small problems before they escalate. Plan for routine inspections at least once every two months:
- Examine all fasteners and mounting hardware; tighten loose nuts and bolts as needed.
- Spray a light coat of lubricant on all grease fittings to maintain fluid seals.
- Check hydraulic fluid levels in the vehicle’s reservoir, and inspect hoses for hardening or brittleness.
- Look for signs of rodent nesting or chew marks on hoses; seal any gaps in doors or walls of the storage area.
- Rotate the plow through its lifting and angling functions to keep mechanical linkages agile.
Final Tips for Next-Season Readiness
When the first snowfall nears, follow these preparatory measures to ensure immediate readiness:
- Remove the storage cover and wipe down the plow to remove accumulated dust.
- Reapply a thin layer of rust inhibitor to areas where the previous coat may have worn off.
- Bleed air from the hydraulic system and top up fluid to the manufacturer’s specifications.
- Test the plow’s full range of motion, checking for any unusual noises or stiffness.
- Inspect the cutting edge and replace worn or chipped segments to maintain effective snow removal.
By following these comprehensive steps for cleaning, protection, and storage, your plow will be in prime condition to tackle the toughest winter challenges with minimal downtime and maximum efficiency.