Testing your soil’s readiness before plowing is a crucial step for any farmer or gardener aiming to maximize yield and preserve soil health. By assessing key factors such as pH, nutrient levels, and moisture content, you can make informed decisions about when and how to prepare your fields. The following guidelines cover practical tips for sampling, analyzing, and amending soil to ensure your plowing efforts set the stage for robust plant growth.
Understanding Soil Composition
Soil is far more than just the medium in which plants anchor their roots. It’s a dynamic mixture of minerals, organic matter, water, and air. Recognizing the balance of these components helps you predict how well crops will establish and access essential resources. The three primary categories of soil particles—sand, silt, and clay—define the texture and influence water retention and drainage. Sandy soils drain quickly but hold fewer nutrients, while clay soils retain water and nutrients but can become compacted. Loamy soils, a blend of these textures, often provide the most favorable conditions for healthy root expansion.
Additionally, soil structure describes how particles aggregate into clumps or crumbs. Well-aggregated soil features stable aggregates that improve aeration and water infiltration. Conversely, compacted or poorly structured soil limits root penetration and can lead to waterlogging. Regularly incorporating organic matter such as compost or cover crop residues fosters aggregate formation and supports beneficial microbial life. Understanding these physical attributes allows you to choose suitable tillage methods and avoid detrimental effects like erosion or crusting.
Essential Soil Testing Methods
Before you run the plow, obtain a clear picture of your soil’s fertility and composition. The first step is sampling. Use a clean soil probe or auger, collecting cores from various locations across the field to capture natural variability. Aim for at least 10 to 15 samples per zone about 6–8 inches deep, the typical turning depth of most plows. Mix the cores in a clean bucket, remove debris, and place the composite sample into a labeled bag for analysis.
Laboratory vs. DIY Testing
- Laboratory Analysis: Provides detailed measurements of pH, macronutrients (nitrogen, phosphorus, potassium), and micronutrients (zinc, iron). Offers professional recommendations for lime or fertilizer applications.
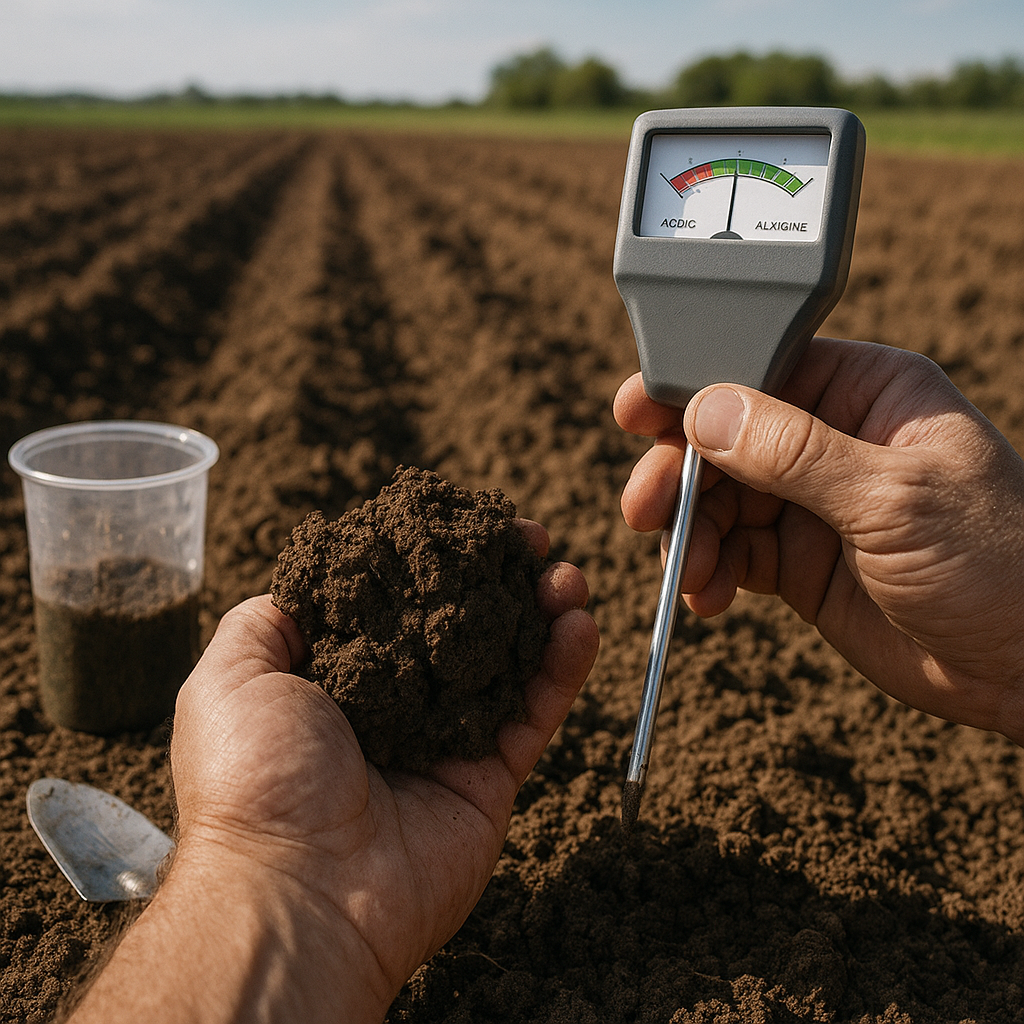
- DIY Test Kits: Handy for quick checks on moisture and approximate pH levels. Though less precise, these kits help you decide whether a full lab test is warranted.
Ensure you collect samples when the soil is at field capacity—not too wet or too dry—to avoid skewed moisture or pH readings. Label each sample accurately, noting the date, location, and any observed anomalies such as water-logged spots or unusually dry patches. Proper sampling protocols lead to reliable analysis and recommendations that optimize post-plow amendments.
Interpreting Test Results and Making Adjustments
Once you receive the soil report, focus first on pH values. Most crops thrive in a slightly acidic to neutral range, between 6.0 and 7.0. If your soil falls below this range, it’s too acidic; consider applying agricultural lime to raise the pH. If it’s above, sulfur or acidifying fertilizers can help lower the pH over time. Adjustments should be scheduled several months before plowing to allow the soil chemistry to stabilize.
Next, examine nutrient levels. Deficiencies in nitrogen, phosphorus, or potassium can significantly reduce yields. Nitrogen is mobile and often lost through leaching, so plan for split applications: some before plowing and the rest during the growing season. Phosphorus and potassium are less mobile and can be broadcast or banded in the plow layer. Incorporate recommended rates of fertilizer or manure uniformly across the field. For micronutrients such as magnesium or zinc, targeted foliar sprays may be effective if the deficiency is widespread but mild.
Do not overlook the importance of organic matter. If the test shows low levels, spread compost or cover crop residues to boost biological activity and aggregate stability. Organic amendments not only provide nutrients but also improve structure and water-holding capacity. Plan to incorporate these residues as deeply as your plow allows to promote uniform decomposition and nutrient release.
Timing Your Plowing for Optimal Results
Choosing the right moment to plow can make or break soil health. Ideal timing aligns with soil moisture levels that avoid compaction while ensuring the ground breaks up cleanly. Soil that’s too wet compacts under heavy equipment, creating clods and poor aeration. Soil that’s too dry crumbles into dust, leaving gaps in the plow pan. A simple squeeze test helps you gauge readiness: squeeze a handful of soil—if it forms a loose ball but crumbles easily, conditions are just right for plowing.
Consider seasonal patterns. In temperate climates, early spring plowing warms and dries soil sooner, permitting quicker planting. In warmer regions, fall plowing exposes the field to winter rains and freeze-thaw cycles, naturally breaking down residue and reducing weed pressure. Align your schedule with crop rotation plans and cover crop seeding to curb erosion, enhance moisture retention, and suppress weeds before the main crop is in the ground.
Minimizing Compaction and Erosion
- Use wide tires or tracks to distribute machine weight evenly.
- Avoid repeated passes over the same wheel tracks, especially when wet.
- Incorporate residue cover to shield soil from raindrop impact.
- Contour plow on slopes to slow water runoff and reduce erosion.
Following these practices helps maintain structure and prevent the development of a hardpan layer beneath the plow depth, which can hinder root growth and water infiltration. With careful sampling, precise amendments, and well-timed cultivation, you set the stage for productive, sustainable fields year after year.