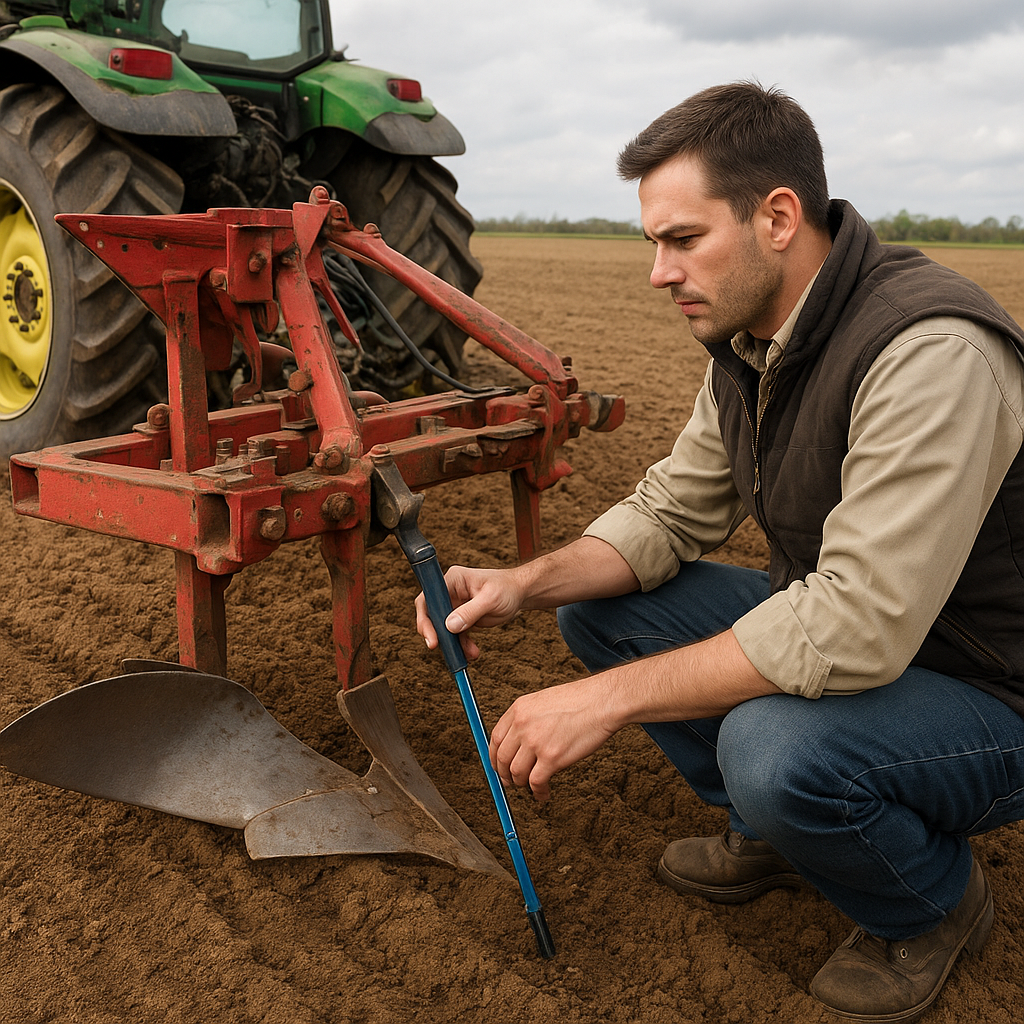
Plowing is a foundational task in **modern** agriculture, critical for soil preparation and **optimal** crop growth. Achieving **consistent** depth and proper alignment requires meticulous **calibration** of your plow. This guide walks you through the essential techniques to fine-tune your equipment, ensuring each furrow meets your **precision** standards and contributes to a uniform seedbed.
Understanding Plow Calibration
Proper **calibration** begins with a clear grasp of how your plow interacts with the soil and the tractor. Factors such as soil type, moisture content, and tractor power influence the **draft** and performance of the implement. By mastering calibration, you’ll be able to:
- Maintain uniform depth across the entire field
- Reduce fuel consumption through efficient traction
- Minimize wear on the plow’s frame and components
- Achieve straight, even furrows that facilitate planting and irrigation
Key Calibration Principles
At its core, plow calibration balances three main parameters:
- Height adjustment – controls how deep the mouldboards cut into the soil.
- Side tilt or roll – ensures the plow remains level, preventing one side from digging too deep.
- Fore-aft tilt or pitch – influences the forward angle, affecting soil turnover and residue mixing.
Essential Tools and Setup
Before beginning calibration, gather the following **tools** and ensure your tractor and plow are in safe working condition:
- Precision depth gauge or measuring rod
- Leveling device or carpenter’s spirit level
- Wrenches and grease gun for **maintenance**
- Hydraulic pressure gauge (if applicable)
- Markers or flags to identify calibration points in the field
Tractor and Plow Pre-Checks
1. Inspect all mounting points and pins for wear or damage.
2. Verify tire pressure is uniform; uneven traction can skew calibration results.
3. Grease all pivot points according to the manufacturer’s schedule.
4. Check hydraulic lines for leaks and confirm the system holds the correct pressure.
Step-by-Step Calibration Process
Follow these steps in a controlled area of the field or a flat testing surface to achieve **precise** settings.
1. Leveling Side-to-Side
With the plow mounted and hydraulics neutral:
- Lower the plow to just above ground level.
- Place a level across the plow beam; adjust lateral leveling rods until the tool shows even.
- Lock adjustments securely, then recheck after a short test drive.
2. Setting Depth
Proper depth is crucial for effective soil turnover:
- Mark out a 10-foot test run.
- Drive forward, engaging the plow to your target draft depth.
- Measure the actual furrow depth at multiple points; adjust the depth control lever or link unit accordingly.
- Repeat until variations are within acceptable tolerance (e.g., within 1–2 inches).
3. Adjusting Fore-Aft Tilt
The plow’s pitch determines how aggressively it digs and flips soil:
- Observe the residue mixing and furrow shape during a slow test pass.
- If the plow skims the surface without proper turnover, increase the pitch angle.
- If the plow digs too aggressively, reducing forward tilt will smooth out the pass.
Optimizing Performance in the Field
Once basic calibration is complete, refining performance under real conditions becomes essential. Soil variations, slope, and moisture can all affect plowing **efficiency**.
Monitoring and Fine-Tuning
- After each field section, inspect furrows for uniformity and depth consistency.
- Make incremental adjustments to hydraulic shims or mechanical linkages to compensate for soil changes.
- Use GPS guidance systems to maintain straight rows, reducing overlap and fuel waste.
Impact of Soil Types
Sandy soils require less downforce but more speed, while clay-heavy grounds demand slower operation and higher draft force. Adjust your settings according to:
- Soil compaction – harder soils need increased hitch height and hydraulic pressure.
- Residue levels – heavy crop residue may call for a steeper pitch to slice and bury materials effectively.
Maintenance and Best Practices
Consistent upkeep ensures your calibration remains stable and reliable over time.
- Regularly inspect mouldboards and shares for wear; replace before they lose shape.
- Check all linkages and hydraulic cylinders for proper function, tightening fasteners as needed.
- Keep a log of your calibration settings for different fields – this database saves time during seasonal startup.
- Store equipment under cover to prevent corrosion of critical components like the hitch and pivot pins.
Seasonal Calibration Review
At the start of each season, reverify all calibration points. Over winter storage and transport can cause minor shifts that affect field performance. A **thorough** pre-season check ensures you begin with a known baseline for **accuracy**.
