Effective plowing in flood-prone areas demands careful planning, proper equipment, and a deep understanding of local conditions. This guide will help you navigate the **assessment**, choose the right **equipment**, apply proven **techniques**, and address **safety** and **environmental** concerns to achieve a successful plowing operation in challenging terrains.
Site Evaluation and Strategic Planning
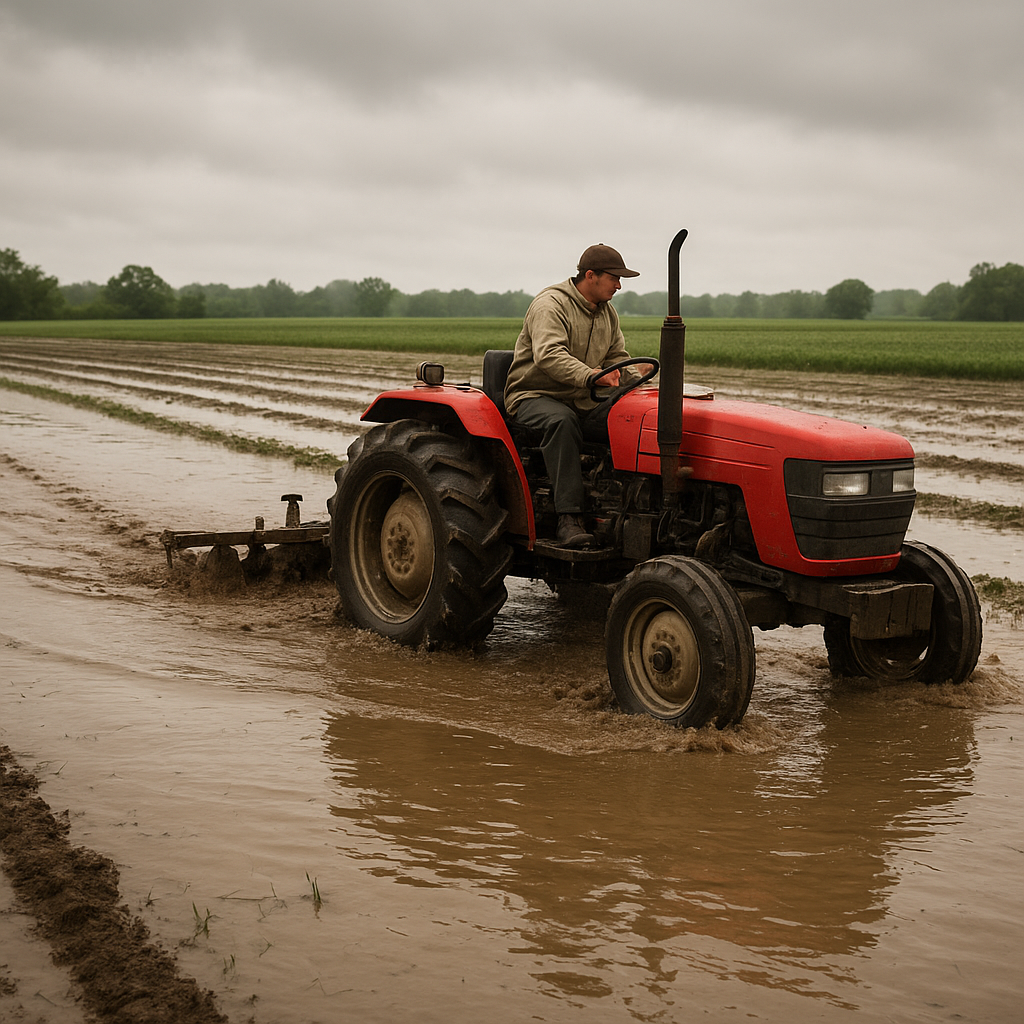
1. Understanding Flood-Prone Terrain
Before you start plowing, carry out a thorough site evaluation to identify low-lying zones and potential water channels. Utilize topographic maps and **drainage** data to pinpoint areas where water accumulates. Implementing strategic planning at this stage ensures that you focus efforts on high-need zones and avoid costly mistakes.
2. Soil Composition and Water Retention
Soil type plays a vital role in how water behaves. Clay-heavy soils hold **moisture** longer, while sandy soils drain faster. Conduct simple percolation tests by digging small pits and assessing water absorption rates. Understanding soil composition allows you to adjust plowing depth and angle accordingly.
3. Risk Assessment and Zoning
Create a zoning map of your property, marking high, medium, and low flood risk sections. Prioritize areas near water sources or with visible signs of frequent saturation. Assign a **maintenance** schedule based on risk level, focusing resources where they’ll have the greatest impact.
Equipment Selection and Preparation
1. Choosing the Right Plow
Select a plow designed for **durability** and adaptability. In flood-prone areas, consider:
- Reversible moldboard plows that let you adjust cutting angles.
- Disc plows for heavy or rocky soils, offering better penetration.
- Chisel plows when minimal soil inversion is desired to protect organic matter.
2. Tractor and Power Requirements
Calculate horsepower needs based on soil resistance, plow type, and working depth. Overexerting your tractor can lead to **breakdowns** and extended downtime. Ensure proper tire selection—wide tires or dual wheels improve flotation on saturated ground and reduce soil compaction.
3. Pre-Operation Inspection
Before heading to the field, conduct a comprehensive inspection:
- Check hydraulic systems for leaks; waterlogged conditions can exacerbate issues.
- Verify that all bolts and pins are tightened—vibration is common under heavy loads.
- Lubricate pivot points and bearings with water-resistant grease.
- Inspect wear parts, such as shares and coulters, replacing them when they exceed 50% wear.
Advanced Plowing Techniques
1. Controlled Depth and Angle
Maintaining a consistent plowing depth prevents uneven ridges that collect water. Aim for a depth of 15–20 cm (6–8 inches) in most situations, increasing only if necessary. Adjust the angle of the plow to create an effective water-shedding slope, guiding surface water away from vulnerable zones.
2. Contour Plowing
Contour plowing follows the natural elevation lines of the land, reducing runoff speed and helping water infiltrate. Align furrows perpendicular to prevailing water flow and avoid plowing uphill in a straight line to minimize erosion risks and preserve **environment** integrity.
3. Strip Cropping and Buffer Zones
Combine plowing with strip cropping—plant alternating strips of vegetation and bare soil. Grassy buffer strips trap sediment and slow water movement. Position them along field edges or between high and low-risk zones to create natural barriers against excess runoff.
4. Post-Plow Surface Treatment
After primary tillage, consider adding:
- Ridging to elevate key pathways and prevent water pooling.
- Subsoiling in compacted areas to enhance drainage.
- Organic amendments like compost or biochar to improve soil structure.
Safety and Environmental Considerations
1. Personal Protective Measures
Working in flood-prone fields introduces hazards such as slipping, equipment engulfment, and hidden obstacles. Equip operators with:
- Waterproof boots and gloves for traction and protection.
- High-visibility vests for easy identification in low-light or foggy conditions.
- A two-way radio or mobile device with emergency contacts readily available.
2. Environmental Safeguards
Minimize the ecological impact by:
- Avoiding plowing immediately after heavy rain to prevent compaction and excessive erosion.
- Maintaining natural vegetative corridors along waterways.
- Using biodegradable lubricants and minimizing chemical inputs near sensitive zones.
3. Monitoring and Early Warning
Install basic water-level gauges or remote sensing devices to track rising water. Early alerts allow you to secure equipment and halt operations before conditions deteriorate. Incorporate local weather forecasts into your daily logistical planning to stay ahead of incoming storms.
4. Emergency Response Planning
Create a clear protocol for quickly disengaging implements and moving tractors to higher ground. Store spare parts and essential tools in an elevated, dry location to facilitate urgent **maintenance** without delay.
Continuous Improvement and Maintenance
1. Post-Season Evaluation
After the high-risk period, reassess soil conditions, plow performance, and field outcomes. Document successes and shortcomings, noting which **techniques** delivered the best erosion control and water management results.
2. Equipment Upgrades and Calibration
Invest in wear-resistant components or adjustable plow frames that adapt to changing field conditions. Calibrate depth controls and gauge wheels regularly to maintain precision and prevent equipment drift.
3. Training and Knowledge Sharing
Conduct workshops with your team or neighboring farmers to exchange insights on flood risk mitigation. Sharing real-world experiences can lead to innovative adaptations of plowing methods and **equipment** enhancements.
4. Integrating Technology
Embrace GPS-guided auto-steer systems to improve pass-to-pass consistency, reducing overlaps and minimizing bare spots where water can concentrate. Soil moisture sensors can inform dynamic depth adjustments, ensuring optimal plow performance at all times.