Preparing a field thoroughly before plowing ensures better crop establishment, improves soil health, and increases overall farm productivity. Taking the time to assess and condition your land can help you avoid common pitfalls such as uneven germination, nutrient losses, and equipment breakdowns. The following sections offer practical guidance on key steps, from soil analysis to machinery calibration.
Soil Assessment and Testing
A comprehensive soil assessment lays the foundation for successful plowing. Start by collecting representative soil samples from various zones in your field. Send them to a reputable laboratory to measure pH, organic matter, texture, and essential nutrients like nitrogen, phosphorus, and potassium. Armed with this data, you can make informed decisions on liming, fertilization, and soil amendments.
- Sampling Depth: Extract samples at multiple depths (0–6 inches and 6–12 inches) to identify nutrient stratification.
- pH Adjustment: If soil pH is below optimal range (6.0–7.0 for most crops), apply lime at recommended rates to improve fertility and microbial activity.
- Organic Matter: Aim for at least 3–5% organic matter content to ensure adequate water retention and nutrient cycling.
Identifying Drainage Issues
Poor drainage can lead to waterlogging, root rot, and delayed plowing in wet seasons. Observe the field after heavy rains to spot puddles, dark soil patches, or sloping areas that collect water. Consider installing:
- Surface ditches for rapid runoff.
- Subsurface tile drains to remove excess moisture.
- Raised beds in localized depressions to improve aeration.
Proper drainage planning prevents compaction and fosters robust root development once plowing begins.
Clearing Debris and Residue Management
Removing rocks, branches, old roots, and crop stubble is critical to protect your plow and ensure uniform soil turnover. Neglecting this step can cause mechanical damage and uneven plow bottoms, leading to inefficiencies and increased fuel consumption.
- Rock Picking: Use a rock rake or chain harrow attachment to collect stones larger than 2 inches in diameter.
- Stone Separation: Employ a star-wheel separator on tractor to extract hidden stones from the topsoil.
- Residue Shredding: Shred crop residue such as corn stalks or wheat straw with a flail mower before plowing.
Leaving excessive residue can clog the plow shares and create surface mats that prevent seed-to-soil contact. However, retaining some residue enhances soil structure and prevents erosion, so strike a balance based on field conditions.
Tilling, Conditioning, and Compaction Control
After clearing, you may need one or more passes with a cultivator, disc harrow, or chisel plow to break up crusts and precondition the soil. This preliminary tillage reduces compaction, improves water infiltration, and sets the stage for the primary plow.
Choosing the Right Tillage Method
- Disc Harrow: Ideal for light residue and quick surface leveling.
- Chisel Plow: Opens deeper compaction layers without complete inversion, preserving organic layers.
- Rotary Tiller: Best for small fields or vegetable plots requiring fine, uniform seedbeds.
Each implement has pros and cons. For instance, a disc harrow can pulverize clods easily but may increase evaporation rates. Conversely, a chisel plow leaves minimal soil disturbance but requires additional passes with a harrow to refine the surface.
Managing Soil Moisture for Optimal Tillage
Working the soil at the correct moisture level is crucial. Too wet, and you’ll create clods and compaction layers; too dry, and you’ll generate excessive dust and poor seedbeds. Follow these guidelines:
- Perform a “ball test”: Squeeze a handful of soil—if it forms a loose ball that crumbles when poked, it’s ready.
- Track recent rainfall and evapotranspiration rates to predict soil moisture trends.
- Consider irrigation or drainage adjustments if the field is excessively wet or dry before plowing.
Fertilization and Nutrient Placement
Proper nutrient application not only supports healthy plant growth but also improves plowing effectiveness. Broadcast-applied fertilizers can become mixed with soil during plowing, ensuring even distribution close to seed zones.
- Starter Fertilizer: Apply a low-rate starter near the seed trench to promote early root development.
- Banding vs. Broadcasting: Banding places nutrients in concentrated zones, reducing fixation losses. Broadcasting is simpler but may require higher rates.
- Lime Integration: Spread lime before plowing to facilitate deeper incorporation and faster pH correction.
Often, a combination of broadcast and side-dress applications yields the best results, especially for high-demand crops like corn and cotton.
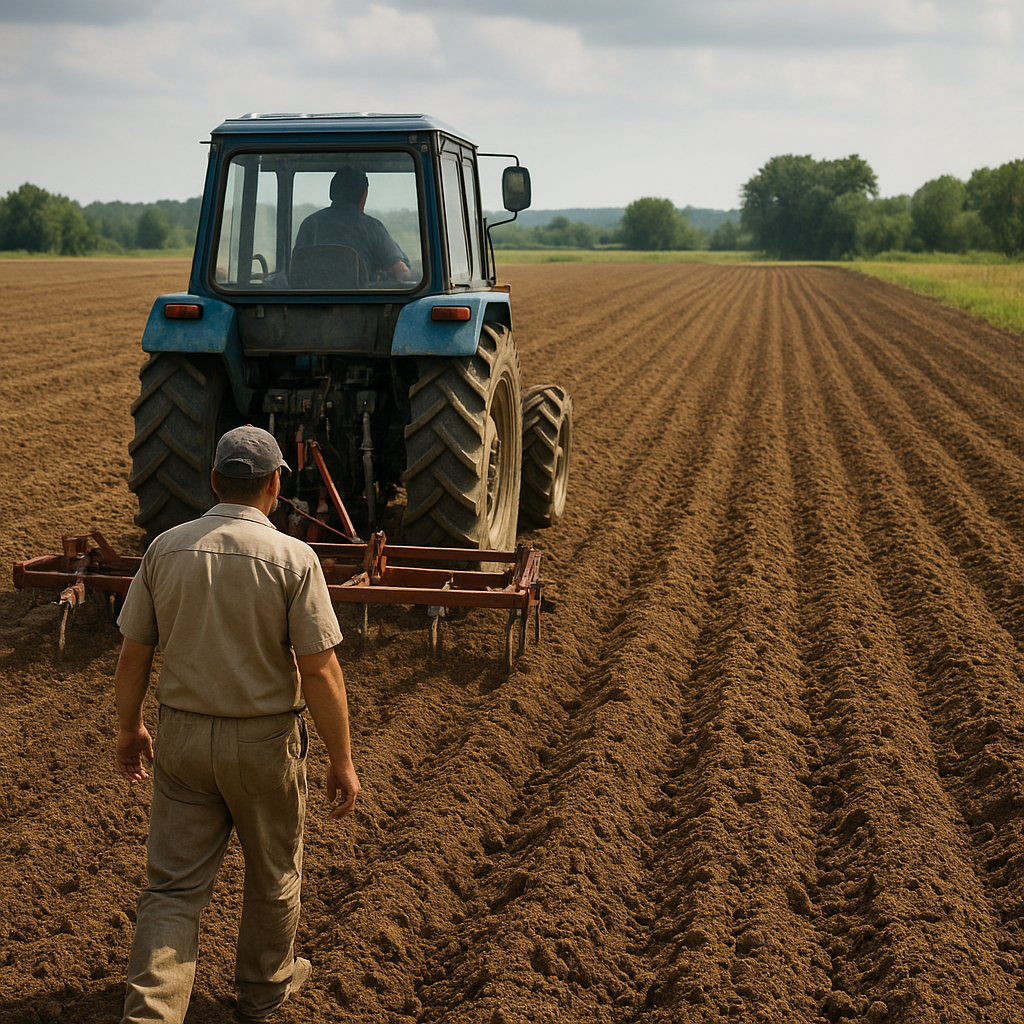
Equipment Selection and Calibration
An efficient plowing operation depends on well-maintained, properly calibrated equipment. Inspect plow blades, coulters, and hitch points before heading to the field. Replace worn shares to avoid increased draft forces and uneven furrow bottoms.
Hydraulic and Mechanical Setup
- Depth Control: Adjust hydraulic valves or gauge wheels to maintain consistent plow depth (commonly 6–8 inches for row crops).
- Angle Settings: Optimize the moldboard angle to ensure smooth inversion of soil without excessive slippage.
- Grain Drills and Planters: Synchronize your seeding equipment’s settings with plowing depth to prevent double handling.
Regularly check tire pressure, hitch alignment, and PTO speed. Misaligned machinery not only wastes fuel but also causes uneven soil disturbance and potential crop stress.
Safety Measures and Best Practices
Operating heavy machinery in the field carries inherent risks. Implement these safety protocols to protect operators and bystanders:
- Wear appropriate personal protective equipment (PPE), including gloves, steel-toed boots, and ear protection.
- Inspect hydraulic hoses and connections for leaks or damage.
- Maintain clear communication via two-way radios or hand signals between tractor operators and ground crew.
- Shut off the engine and remove the key before performing maintenance or clearing blockages.
Always reference your equipment’s operator manual for specific safety guidelines. Incorporating routine safety briefings can further reduce incidents and downtime.
Timing and Seasonal Considerations
The optimum plowing window varies by region, climate, and crop. In cooler climates, plowing in late fall can help residues decompose over winter and reduce spring fieldwork. In warmer regions, spring plowing after initial rains may be preferred to avoid working overly wet soil.
- Fall Plowing: Benefits include natural freeze-thaw action to break clods and disruption of pest life cycles.
- Spring Plowing: Limits exposure of bare soil to winter erosion but may delay planting if weather turns unfavorable.
- Split Tillage: Combine fall shallow tillage with spring deep plowing to balance residue management and moisture conservation.
Adjust your schedule to local weather patterns, soil type, and crop rotation plans. Flexibility in timing often yields the best compromise between soil health and operational efficiency.