Preparing your farm machinery for the demanding plowing season involves meticulous planning and thorough checks. An effective approach ensures that your fieldwork runs smoothly, reduces downtime, and extends the lifespan of your equipment. This guide covers essential aspects of pre-season preparation, from detailed inspections to advanced plow calibration and on-field techniques.
Pre-season Inspection and Maintenance
Before you even hook up your plow, invest time in a comprehensive evaluation of your tractor. A few hours of attention now can save days of costly repairs later.
Engine and Fuel System
- Check oil levels and replace filters according to the manufacturer’s schedule. Fresh oil guarantees better lubrication and cooler operation.
- Inspect the air filter. A clogged filter reduces airflow, increases fuel consumption, and strains engine performance.
- Drain any water or sediment from the fuel tank and lines. Contaminated fuel can lead to poor combustion and injector damage.
- Test the glow plugs (in diesel engines) to ensure reliable cold starts during early-season fieldwork.
Hydraulics and Powertrain
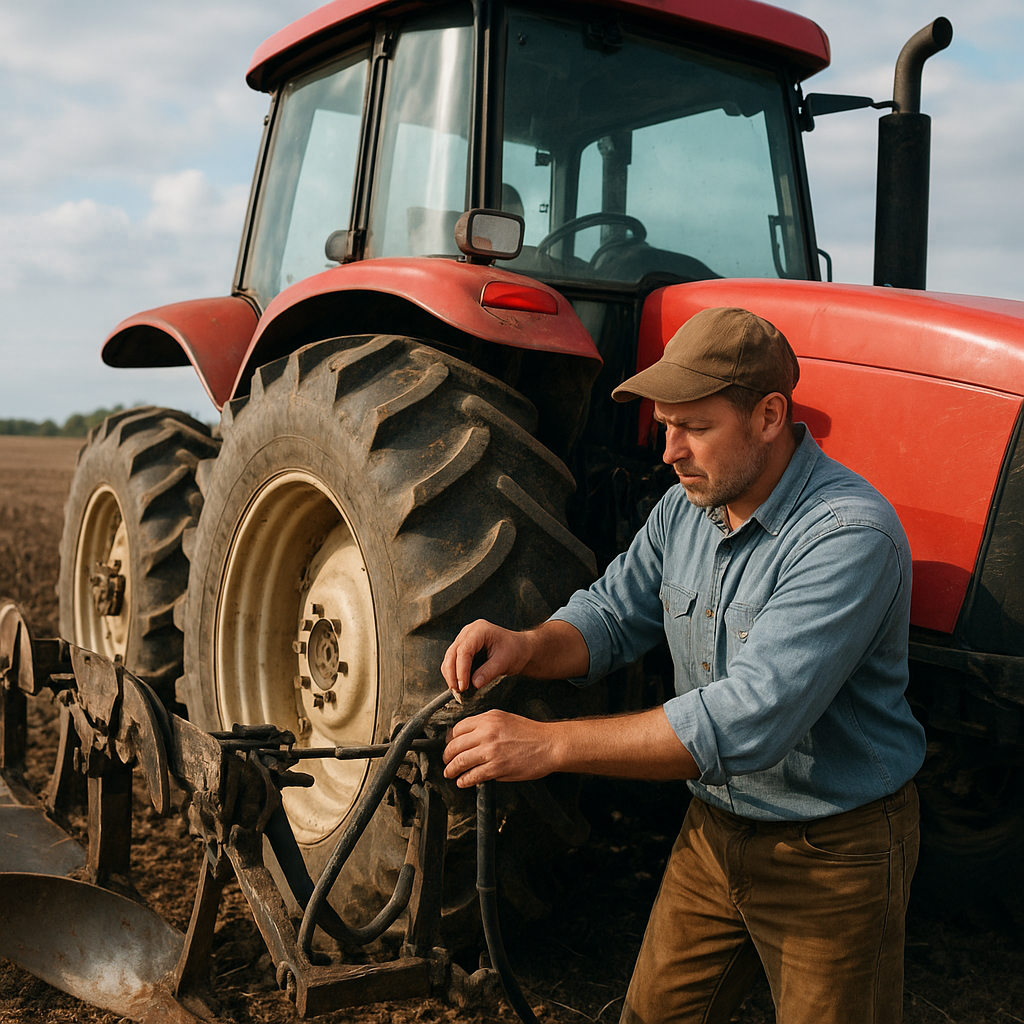
- Examine hydraulic hoses and fittings for leaks or cracks. Failing hydraulic circuits can leave you stranded in the field.
- Top off hydraulic fluid with the recommended grade to maintain smooth plow lift and tilt operations.
- Inspect the power take-off (PTO) shaft. Ensure the guard is intact and the coupling is secure to prevent accidents.
Tires, Brakes, and Safety Features
- Check tire tread depth and pressures. Proper inflation improves traction and reduces soil compaction.
- Test brake response on a firm surface. Well-maintained brakes are crucial when maneuvering on slopes or near obstacles.
- Verify that all lights, mirrors, and rollover protection systems (ROPS) are functional for maximum operator safety.
Plow Attachment and Calibration
Attaching and calibrating your plow correctly sets the stage for uniform furrows and efficient field coverage. Misalignment or improper settings can lead to uneven soil inversion and wasted fuel.
Mounting the Plow
- Use the tractor’s three-point hitch and follow the manufacturer’s recommended pin positions to ensure level pull.
- Secure all hitch pins with locking clips to prevent accidental disengagement during operation.
Depth and Tilt Calibration
- Adjust the hydraulic depth control until the plow shares penetrate the soil at the desired 6–8-inch depth.
- Set the side-to-side tilt so each plow body works at the same angle, producing consistent furrow widths.
- Perform a short test run in a corner of the field. Examine the cut on both sides and tweak settings as needed.
Alignment and Efficiency
- Measure the distance between plow bottoms and wheels to confirm parallel alignment.
- Optimize wheel tread width to match the plow width, reducing wheel overlap and minimizing soil disturbance.
- If your tractor has front-wheel assist or four-wheel drive, engage it for better traction in heavier soils.
Soil Preparation and Plowing Techniques
Understanding your soil type and moisture levels can drastically improve plowing results. Proper techniques lead to better seedbed conditions and enhanced crop emergence.
Assessing Soil Moisture
- Perform a simple squeeze test: Soil should clump in your hand but crumble when poked.
- Try a soil moisture meter for precise readings. Ideal plowing moisture is around 60–70% field capacity.
Plowing Patterns
- Begin by plowing along the field’s long edge to establish a straight reference line for subsequent passes.
- Use a performance guide or laser leveling system if available to maintain consistent depth.
- Alternate passes to the right and left to counteract tractor drift and balance wear on the plow.
Handling Difficult Conditions
- When encountering rocky or compacted layers, reduce forward speed and increase hydraulic relief settings.
- For heavy clay soils, consider adding a soil conditioner or lime after plowing to improve structure and drainage.
- In wet conditions, use wider tires or duals to spread load and avoid deep ruts that are hard to correct later.
Routine Checks and In-field Maintenance
Maintaining peak performance during the season requires regular spot checks and minor adjustments. A quick five-minute routine can prevent major breakdowns.
- Every 50 acres, inspect plow points and moldboards for wear. Replace or sharpen as needed to maintain clean trenching.
- Check hydraulic hoses and fittings for leaks after each day of heavy use.
- Lubricate all grease points on the tractor and plow to avoid seized pins and bushings.
- Keep a small toolkit on the tractor, including wrenches, spare pins, extra hydraulic oil, and a pressure gauge.
Advanced Tips for Maximum Efficiency
Seasoned operators can leverage advanced strategies to shave hours off fieldwork and reduce input costs.
- Consider GPS-guided auto-steer systems. Straight, overlapping-free passes cut fuel use and increase area coverage.
- Monitor real-time fuel consumption via onboard telematics. Adjust engine RPM and forward speed for optimal fuel-to-work ratio.
- Adopt variable-depth plowing where sections of the field demand different tillage depths due to soil variation.
- Combine plowing with strip-till in one pass using specialized attachments to preserve crop residue and improve soil health.
Conclusion
Thorough preparation, diligent maintenance, and precise calibration set the foundation for a productive plowing season. By investing time in pre-season checks, mastering attachment techniques, and employing smart field practices, you’ll maximize your tractor’s longevity and achieve superior soil conditioning. With these insights, your next plowing campaign will be smoother, faster, and more efficient than ever before.