Efficient plowing begins long before the first furrow is cut. Adjusting the plow angle can dramatically influence fuel consumption, soil turnover, and overall efficiency on the field. Whether you manage a small acreage or oversee hundreds of hectares, understanding how to measure, test, and fine-tune your plow’s settings will save time, reduce traction issues, and produce a more uniform seedbed. This guide provides step-by-step advice on testing and adjusting plow angles for maximum performance under varied conditions.
Preparing Your Equipment for Accurate Testing
Before tackling the field, invest a few minutes in preparing both tractor and implement. Small oversights can throw off your results and lead to improper settings.
- Check tire pressure. Underinflated tires can alter the effective angle of the plow and increase resistance.
- Verify hydraulic settings on the three-point hitch. A stable, level draft point ensures consistent measurements.
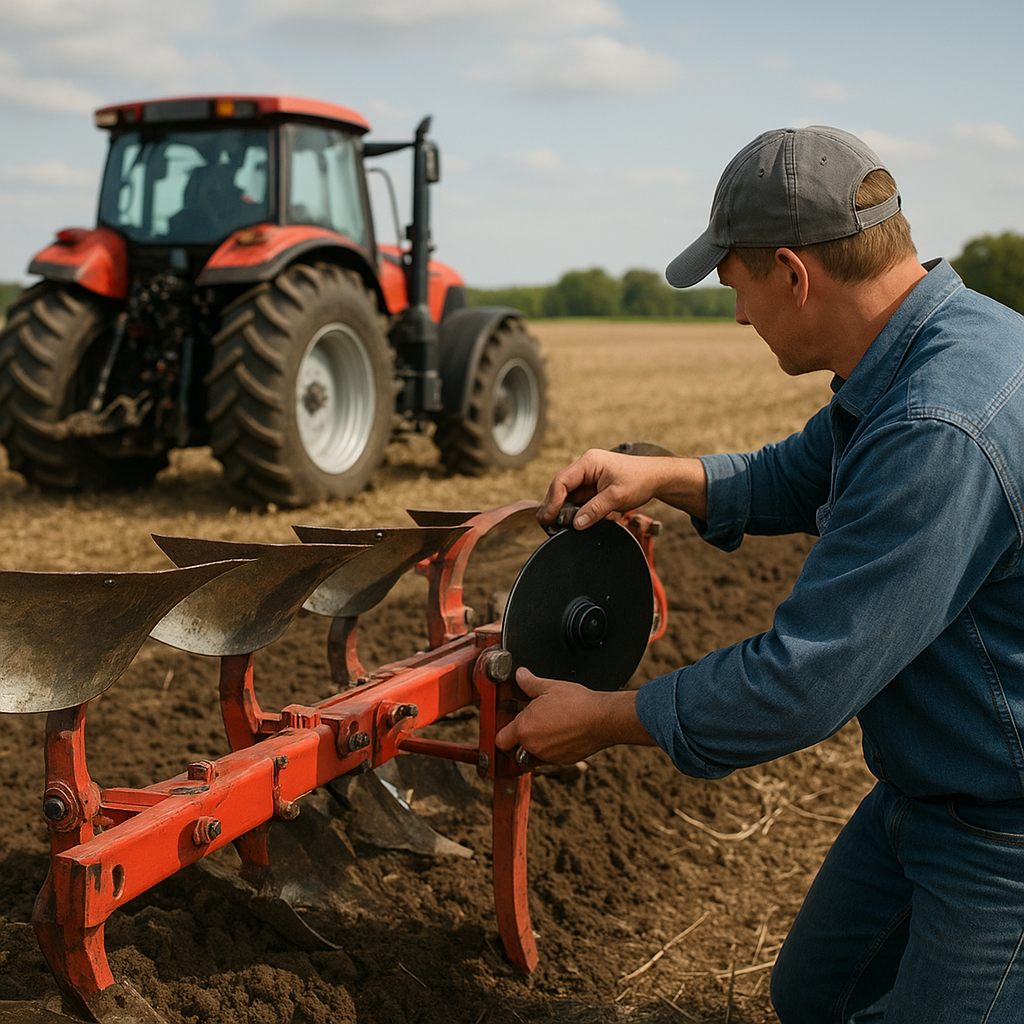
- Inspect components for wear. Bent beam sections, worn hitch pins, or damaged skid shoes will skew angle readings.
- Clean the plow. Caked mud changes the geometry and hinders your ability to observe soil turnover.
Once the machine is in top condition, move on to preliminary angle settings. Manufacturers often recommend a starting range between 14 and 20 degrees depending on model and furrow width. Record these baseline values using a reliable angle gauge before heading to the test plot.
Conducting Field Tests: Methods and Metrics
Field testing allows you to see real-world performance rather than relying solely on theoretical numbers. Follow these steps to collect useful data:
- Select a representative section of the field, preferably with uniform soil moisture and texture.
- Mark out test rows, ideally 20–30 meters each, so you can observe plow behavior over a distance.
- Run the plow at a steady, moderate speed, maintaining a consistent RPM on the tractor.
After each pass, evaluate:
- Furrow uniformity: Is the turned soil consistently even?
- Depth control: Are you hitting your target depth across the board?
- Effort: Note any fluctuations in fuel consumption or draft force.
- Clod size and distribution: Are large clods left behind or is the soil well broken?
Record observations for each angle adjustment. It’s often helpful to adjust by 2–3 degrees per test to identify optimal settings without making changes that are too subtle to measure.
Using Tools and Techniques for Precise Measurement
Accurate measurement of plow angles ensures repeatability and consistency. Common tools include:
- Digital angle inclinometer: Clips onto the plow beam for quick, precise readings in decimal degrees.
- Manual bevel protractor: Reliable in rough field conditions and does not require batteries.
- String line method: Stretch a taut string along the top of the frame and use a carpenter’s square to measure angle to the share tip.
When using an inclinometer, position it on a flat, calibrated surface. Zero it on a level reference (tractor frame) before moving it to the plow body. With manual protractors, ensure all surfaces are clean and free of debris to avoid misalignment. Accurate tools reduce guesswork and speed up the adjustment process.
Optimizing Angles for Different Soil Conditions
Soil composition and moisture content significantly affect optimal plow angle. Here’s how to adapt:
Sandy or Loose Soils
Sands require a narrower angle to maintain sufficient forward thrust through the soil. Too steep an angle will cause slipping and poor inversion. Aim for an angle between 13° and 15° to minimize slippage and conserve fuel.
Clay or Heavy Soils
Clays tend to stick and can cause increased draft force. A more aggressive angle, around 18° to 20°, helps slice through the dense material. However, monitor power draw carefully to avoid overloading the tractor’s engine.
Moisture Variations
Wet soil increases adhesion to the moldboard. Slightly reduce the angle by 1–2 degrees when conditions are damp to facilitate easier turnover. Conversely, in extremely dry soil, a steeper angle may be required to achieve proper furrow inversion.
Keep detailed records of each test—including moisture levels, plow settings, and performance notes—so you can establish a reference table for future seasons.
Fine-Tuning and Ongoing Calibration
Once you’ve identified baseline settings, continuous monitoring is key. Over time, even minor wear on hitch points or skid shoes can change the effective angle by a degree or two. Establish a routine:
- Daily walk-around checks: Clean and inspect critical surfaces.
- Weekly angle verification: Use your digital inclinometer to confirm settings before long plowing runs.
- Seasonal deep inspection: Remove shares, inspect beams, and check for any structural deformation.
By maintaining consistent calibration, you’ll ensure that the initial testing efforts continue to deliver the highest possible performance as seasons and conditions evolve.
Leveraging Technology for Superior Results
Modern farming equipment often features in-cab displays that provide real-time feedback on draft force, tilt, and plow performance. Linking angle adjustments to GPS-based guidance systems can automate corrections, ensuring each furrow remains within your ideal angle parameters. While initial investment in these technologies can be significant, benefits include reduced operator fatigue, lower fuel use, and more uniform seedbeds.
Conclusion of Techniques
Mastering plow angle adjustment is a blend of art and science. Consistent measurement, methodical field testing, and adaptation to soil variations form the cornerstone of effective plowing practice. With diligent maintenance and the right tools, you can optimize your plow for any terrain, turning a routine field pass into a demonstration of precision agriculture at its best.