Understanding how to identify soil texture is crucial for determining the optimal plowing depth. Properly assessing whether your field is dominated by clay, silt or sand helps you achieve better structure, reduces compaction and conserves valuable moisture. This guide presents practical plowing tips and techniques you can apply immediately to improve yield and equipment performance.
Understanding the Basics of Soil Texture
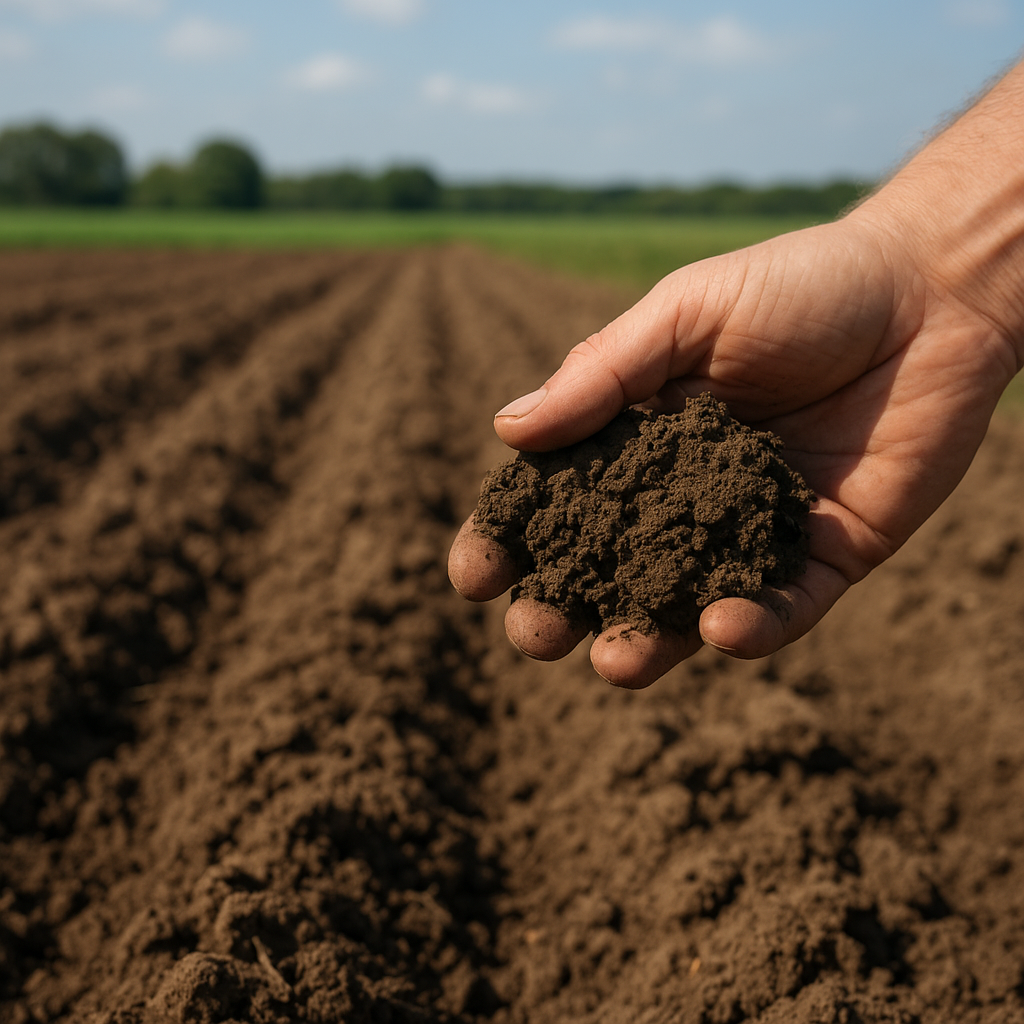
Soil texture refers to the proportions of particles of different sizes—specifically sand (0.05–2 mm), silt (0.002–0.05 mm) and clay (less than 0.002 mm). Each component plays a unique role: sand improves drainage, clay holds nutrients and water, while silt balances water retention and aeration. A field rich in clay will behave differently under the plow than one with sandy or silty soils. Recognizing the texture of your land helps tailor plowing tools and depths for optimal seedbed conditions.
Why Texture Matters
- Drainage: Sandy soils drain quickly, risking drought stress.
- Water Retention: Clay soils hold water but can become waterlogged.
- Root Development: Balanced textures support robust root systems.
- Nutrient Cycling: Finer particles retain nutrients but may limit aeration.
Practical Methods for Identifying Soil Texture
Before you adjust your plow, carry out a few simple tests. These allow you to classify soil texture without expensive lab analyses. Gather soil samples from various points in your field—avoid edges and only sample the root zone, roughly 10 to 15 cm deep. Mix them thoroughly to get a representative sample.
Ribbon/Feel Test
Take about two teaspoons of moist soil and press it between your thumb and forefinger. Stretch the soil to form a ribbon:
- If the ribbon is clay-like and holds shape for more than 2 inches, high clay content is indicated.
- A gritty feel suggests high sand levels, with ribbons that break quickly.
- A smooth, floury feel hints at dominant silt.
This test is fast and gives visual and tactile clues, though it’s less precise than lab methods.
Jar Sedimentation Test
Fill a clear glass jar halfway with soil and add water until the jar is three-quarters full. Shake vigorously to suspend particles, then let it stand for 24 hours. Distinct layers will form:
- The bottom layer (sand) settles first.
- Next comes silt, appearing as a cloudy middle layer.
- Finally, the clay remains suspended the longest at the top.
Measure each layer’s thickness to calculate percentages. This method is more accurate and helps you refine plowing settings precisely.
Adjusting Plowing Depth Based on Texture
Once you’ve assessed soil composition, it’s time to configure your plowing strategy. Optimal plowing depth varies with texture because each soil type reacts differently to mechanical disturbance.
Shallow vs. Deep Plowing
Shallow plowing (10–15 cm) is suited for light, sandy soils where deeper disturbance can cause excess drying and erosion. In contrast, clay-heavy fields benefit from deeper plowing (20–30 cm) to break up compact layers, enhance drainage and improve root penetration. Excessive depth in clay can, however, bring subsoil with poor fertility to the surface—balance is key.
Field Conditions and Timing
Soil moisture at the time of plowing dramatically impacts performance. Overly wet clay soils smear and compact, while bone-dry sandy soils may shatter unevenly. Aim for a moisture level where soil aggregates break cleanly without clumping—roughly 60–70% of field capacity. Always check weather forecasts to avoid plowing before heavy rains or during drought stress.
Optimizing Equipment and Techniques
Choosing the right equipment and settings ensures that your plow works efficiently and preserves soil health. Modern plows offer adjustable coulter pressures, share widths and furrow cleats. Fine-tuning these components reduces draft requirements, fuel consumption and wear on machinery.
Plow Share and Moldboard Selection
- Wider shares cover more ground but need more power—suitable for low-resistance sandy soils.
- Narrow shares cut easily in dense clay, reducing draft force.
- Moldboard curvature should match soil type: a flatter moldboard better flips heavy clays, while a steeper curve prevents clogging in sticky conditions.
Proper Hitching and Depth Control
Ensure your plow is level side-to-side and front-to-back. Misalignment leads to uneven furrows, increasing erosion risk. Use hydraulics or mechanical stops to maintain uniform plowing depth. Periodically check depth with a measuring stick to verify consistent operation across the field.
Common Mistakes and Best Practices
Avoid these pitfalls to safeguard your soil and maximize productivity.
Ignoring Soil Variability
Fields often contain micro-variations in texture—don’t assume uniformity. Perform texture tests in different zones and adjust your plowing plan accordingly. Variable-depth systems can respond automatically to changing conditions, saving time and improving soil health.
Overlooking Residue Management
Crop residues on the surface can clog shares and disrupt uniform furrowing. Use a residue manager or coulter attachment to slice through straw or stalks, ensuring clean turnovers and effective mixing with organic matter.
Skipping Maintenance
Dull shares or poorly lubricated components increase draft force and fuel use. Regularly sharpen cutting edges and grease all pivot points. Proper maintenance extends equipment life and helps maintain precise plowing depth.
Stressing the Soil
Repeated deep plowing can lead to erosion and loss of topsoil. Rotate plowing with conservation tillage practices like strip-till or moldboard reduction. This balances disturbance while protecting the structure and biology of your fields.