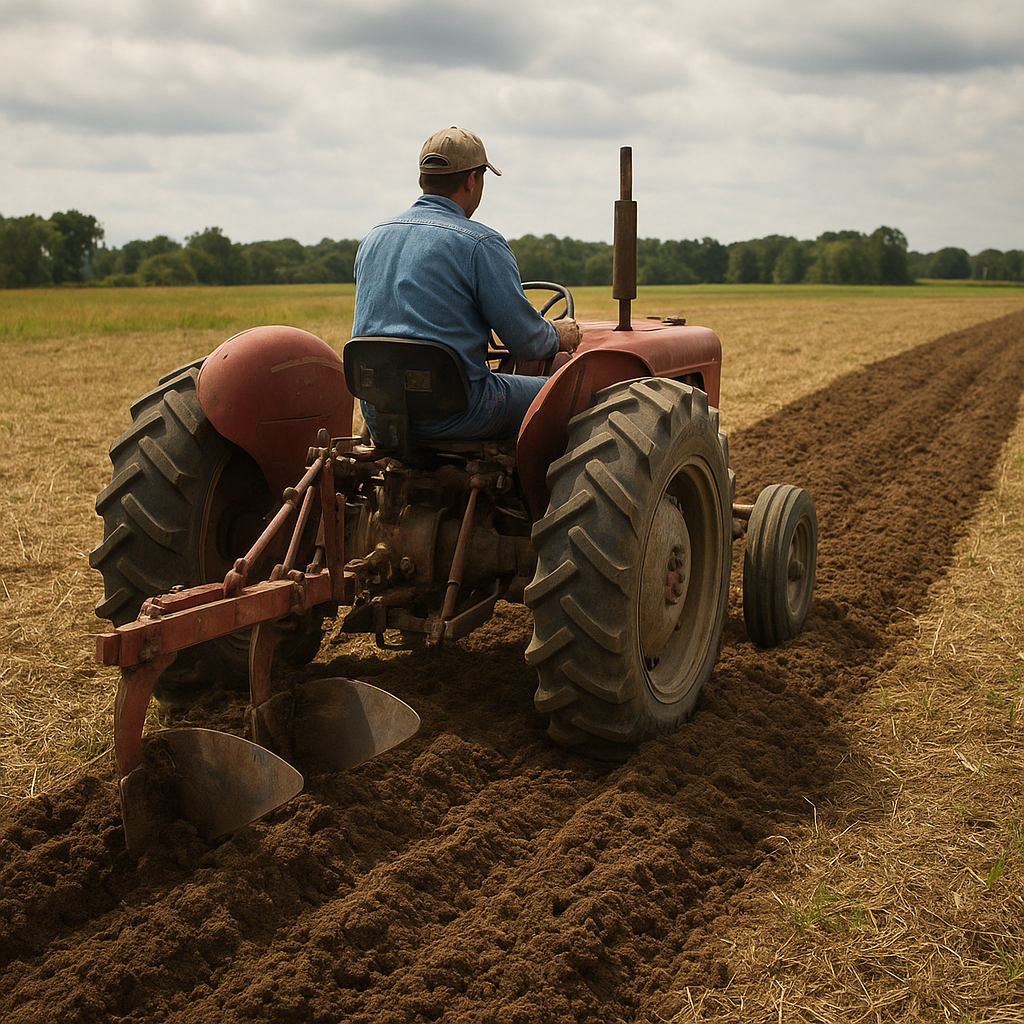
Moldboard plowing remains one of the most traditional yet effective methods of primary tillage. By inverting the topsoil layer, a farmer can effectively manage residue, control weeds, and create an ideal seedbed. This beginner’s guide explores essential tips and techniques that will help you master the art of moldboard plowing. Whether you’re a hobby farmer or stepping into large-scale agriculture, understanding the right practices ensures increased efficiency and healthier crops from the very first furrow.
Understanding the Moldboard Plow
History and Evolution
The moldboard plow has evolved over centuries, from simple wooden implements to the modern steel versions drawn by tractors. Its basic principle remains the same: lifting and inverting soil to bury crop residues and loosen the ground. Early designs relied on animal power, but today’s machines often feature adjustable wings, coulters, and sophisticated hydraulics to optimize performance.
Key Components of the Implement
- Beam: This sturdy arm attaches the plow to the tractor’s three-point hitch, ensuring stable operation.
- Coulter: A sharp disc that cuts through debris and residue, helping the moldboard turn the soil cleanly.
- Moldboard: The curved plate responsible for lifting and inverting the soil layer.
- Share: A replaceable edge at the bottom of the moldboard that slices into the ground at the desired depth.
- Landside: This flat surface bears against the unplowed ground to stabilize the plow.
Understanding each component allows for precise adjustments and timely maintenance, minimizing downtime and maximizing field coverage.
Preparing the Field
Assessing Soil Moisture and Texture
Optimal plowing conditions depend heavily on the moisture content of your soil. Too wet, and clods form, leading to uneven inversion and compaction. Too dry, and dust clouds can inhibit visibility while causing loss of fine particles. A simple squeeze test—where a handful of soil lightly squeezed forms a weak ball—is a good indicator of ideal moisture levels.
Clearing Residue and Obstacles
- Remove large rocks, limbs, and debris that can damage the plow share and moldboard.
- Consider a roller or harrow pass to level the surface and disperse smaller plant residue.
- Mark hidden wires or irrigation lines to prevent accidents during plowing.
Proper field preparation not only protects your equipment but also ensures uniform furrows and better seedbed quality.
Effective Plowing Techniques
Setting the Correct Depth
Most farmers begin with a depth of 6 to 8 inches for primary tillage, but this can vary based on soil type and crop requirements. Adjust the top link of your three-point hitch so that the plow share cuts at the desired depth without placing excessive strain on the tractor.
Speed and Tractor Draft Management
- Maintain a steady speed—typically 4 to 6 mph—to allow the moldboard to invert soil evenly.
- Monitor tractor engine load. Excessive draft indicates soil is too heavy or moisture is off-target.
- Use ballast weights or dual tires to improve traction without causing unnecessary soil disturbance.
Creating Uniform Furrows
Align your first pass with a fixed reference point, such as a fence line or field edge. Subsequent passes should overlap slightly to avoid unplowed strips. Pay attention to hillside plowing: work across the slope or on the contour to reduce erosion and maintain water infiltration.
Maintenance and Troubleshooting
Caring for Wear Parts
- Inspect the moldboard and share for wear after every 50 hours of operation.
- Sharpen or replace the share when cutting performance declines.
- Grease pivot points and check hydraulic hoses for leaks to avoid sudden equipment failure.
Preventing Compaction and Soil Damage
Repeated passes over the same track can compact underlying layers. Utilize controlled traffic patterns and alternate paths each season. Consider reducing axle pressure or using flotation tires to spread load and protect soil structure.
Adjusting for Variable Field Conditions
Fields rarely present uniform conditions—rocky patches, wet spots, or hardpans can disrupt your plowing rhythm. Keep the following in mind:
- Raise the plow slightly when entering heavy soils to avoid overloading the tractor.
- Lower depth when moving into lighter, sandy areas to maintain consistent inversion.
- Monitor tractor gauges closely—engine RPM, hydraulic pressure, and draft force readings offer real-time feedback.
Advanced Tips for Efficiency
Planning Run Sequences
Efficient field layout reduces turns and backtracking. Plan your passes in long, straight runs, grouping adjacent fields with similar soil types. Combine plowing with other tillage passes—such as disk or cultivator—only when conditions allow.
Integrating Cover Crops
When plowing under a winter rye or clover cover crop, ensure residue is well managed by a disc or chisel before inversion. This reduces the chance of clogging and promotes faster breakdown of organic matter.
Monitoring Soil Health Over Time
Record plowing depth, speed, and weather conditions for each field. Soil tests before and after plowing seasons can reveal changes in structure, organic matter content, and compaction levels. Adjust practices based on these insights to maintain long-term productivity.