Effective field preparation begins with mastering the art of drainage management. Properly handling water flow and moisture levels before you plow can dramatically improve soil structure, reduce erosion, and boost crop yields. This comprehensive guide covers key strategies and practical tips to help you optimize your field’s condition before breaking ground.
Assessing Field Moisture and Drainage Patterns
Before you put your tractor to work, take a close look at how water behaves on your land. Identifying areas of excess moisture or poor permeability can save you from costly repairs down the line.
Conducting a Soil Moisture Audit
- Use a soil probe or auger to sample moisture at various depths.
- Record moisture percentages in multiple locations across the field.
- Compare results to optimal moisture ranges for your crop type and soil texture.
Ideal moisture levels vary by crop, but as a rule of thumb, plowing is safest when soil holds around 60–70% of field capacity. Too wet, and you risk compaction and smearing; too dry, and the soil may shatter into large clods.
Mapping Surface Water Flow
- Observe the field after a moderate rain to see where puddles form and water stagnates.
- Mark channels where runoff concentrates, as these may require targeted intervention.
- Consider using aerial imagery or drone surveys to identify subtle depressions and wet spots.
By mapping these patterns, you can plan drainage routes, decide where to install tile lines or open ditches, and avoid plowing soggy zones that hamper root development.
Implementing Effective Surface Drainage
Surface or open ditch drainage involves channeling excess water away from the field quickly and efficiently. This approach is particularly effective in low-lying or clay-heavy areas.
Designing Graded Ditches
- Establish a longitudinal slope of at least 0.5% to keep water moving.
- Line critical stretches with erosion control fabric or rock riprap to prevent scouring.
- Connect to a main collector channel or natural watercourse, ensuring proper outflow.
Well-graded ditches prevent water from pooling and allow for rapid drying, making the field ready for plowing sooner. They also help mitigate soil erosion by controlling the speed of runoff.
Using Temporary Diversions
For short-term or seasonal needs, temporary berms and diversions can reroute water away from vulnerable areas. These simple earthworks can be built with minimal machinery and removed once the rainy season passes.
- Berms: compacted mounds of soil placed along the field’s high side.
- Swales: shallow, broad channels designed to slow and spread runoff.
- Sandbag barriers: quick to deploy around low spots during heavy storms.
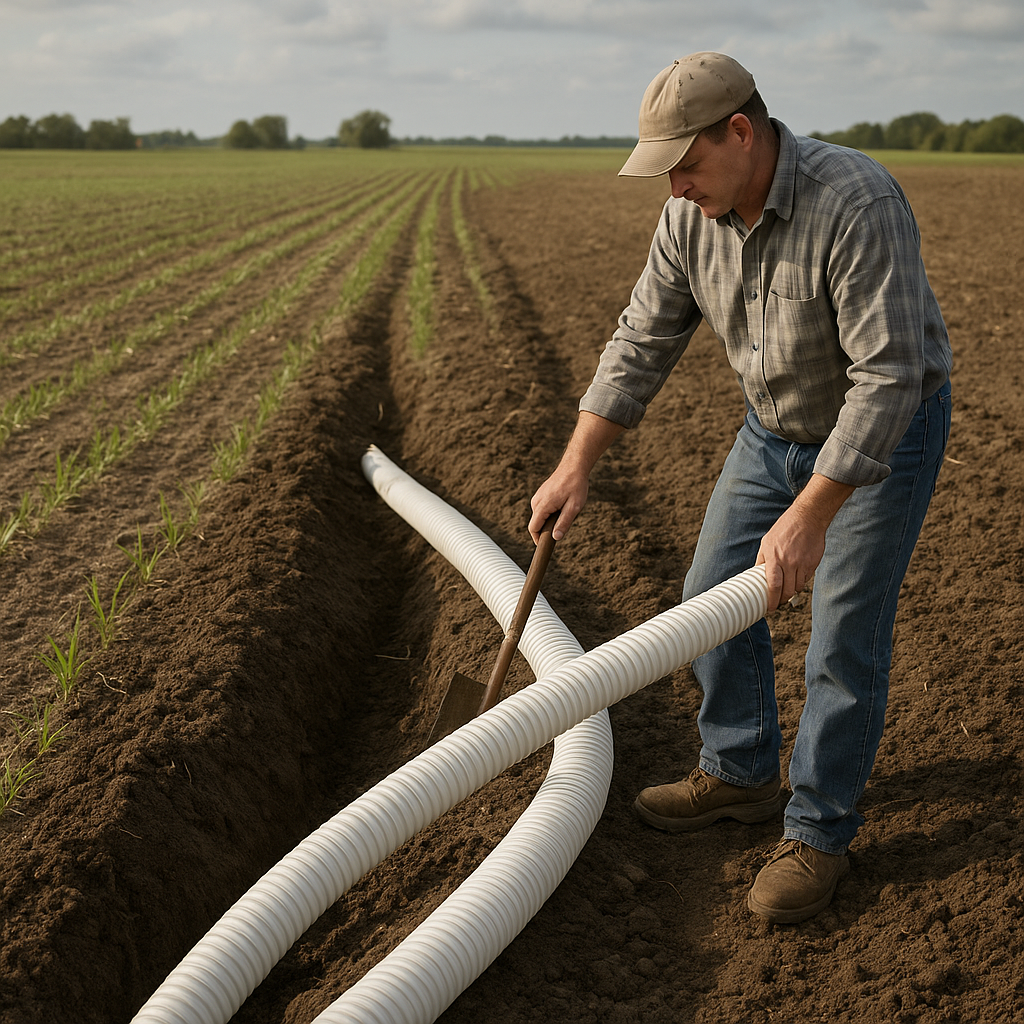
Installing Subsurface Drainage Systems
When surface methods aren’t enough, subsurface tile systems can lower the water table and maintain consistent soil moisture.
Selecting Appropriate Tile Materials
- Corrugated polyethylene (PE) tiles for flexibility and lower cost.
- Ceramic or clay tiles in high-temperature or corrosive soils.
- Perforated PVC lines for uniform water collection.
Consider tile diameter: typical installations use 4–6 inch pipes. Larger tiles handle greater volumes but require deeper trenches and more powerful excavation equipment.
Determining Tile Spacing and Depth
Proper spacing depends on soil type and slope. A general guideline:
- Sandy soils: 50–75 feet apart.
- Loamy soils: 75–100 feet apart.
- Clay soils: 100–125 feet apart.
Depth should place the tile outlet below the lowest high-water mark, usually 2–3 feet deep. Ensure there’s enough cover (typically 18–24 inches of soil) for field traffic.
Timing Your Plowing Operations
Even with drainage in place, the timing of your plowing can make a world of difference. Recognizing the ideal window can help you avoid soil compaction and structure damage.
Soil Temperature and Moisture Indicators
- Use a soil thermometer: aim for at least 50°F at a 4-inch depth for most spring crops.
- Conduct the “squeeze test”: grab a handful of soil—if it forms a loose ball that crumbles with a tap, conditions are suitable.
- Avoid clinging or sticky soils, which indicate excess moisture.
Weather Forecast Considerations
Check long-range forecasts to avoid plowing just before heavy rainfall. A dry spell of several days ensures the field firms up adequately, reducing the risk of ruts and wheel slippage.
Maintaining Drainage Infrastructure
Once tile lines and ditches are in place, ongoing maintenance ensures long-term performance.
Routine Inspection and Cleaning
- Inspect open ditches monthly, particularly after storms, for sediment buildup.
- Use high-pressure jetting or mechanical rodding to clear clogged tiles.
- Check field inlets and outlet structures for debris or collapse.
Vegetative Management
Maintaining grasses or vegetative buffers along ditch banks stabilizes soil and filters out sediment. Deep-rooted perennials also help absorb excess nutrients, minimizing agronomic runoff.
Repairing Damage Promptly
Fix low spots, rills, or collapsed tile sections as soon as they appear. Small repairs prevent costly overhauls and maintain consistent field conditions for future plowing and planting.
Integrating Drainage with Conservation Practices
By combining drainage efforts with conservation tillage and cover cropping, you can improve soil organic matter, reduce erosion, and boost long-term productivity.
Cover Crops for Improved Soil Structure
- Plant cereals, legumes, or brassicas in fall to anchor soil and break compaction layers.
- Allow roots to create natural channels for water infiltration.
- Terminate cover crops before they consume excessive soil moisture.
Minimum-Till and No-Till Integration
Reducing tillage intensity preserves soil aggregates and pore networks critical for effective drainage. Combine minimum-till passes with targeted, shallow plows to maintain earthworm activity and soil life.
Optimizing Machinery for Pre-Plow Drainage Tasks
Equipping your tractor and implements to handle drainage-related fieldwork boosts efficiency and accuracy.
Tractor Setup and Tires
- Use flotation tires or tracks to minimize pressure on soft soils.
- Adjust ballast to improve traction without causing excessive compaction.
- Install GPS guidance and auto-steer to maintain consistent ditch grades.
Attachments for Drainage Work
- Drain plows: specialized blades that open narrow trenches for tile placement.
- Subsoilers: break hardpans and encourage vertical drainage.
- Laser-guided land levelers: ensure precise grading of surface and field borders.
By carefully assessing field conditions, implementing targeted surface and subsurface drainage, timing your plowing correctly, and maintaining your infrastructure, you’ll be well-equipped to optimize field productivity and protect soil health. Integrating these practices with conservation principles ensures a resilient farming system capable of facing challenging weather patterns and increasing yields season after season.