Maintaining your plow’s performance begins with effective and safe cleaning practices. By understanding the materials involved and following a series of proven steps, you can restore a smooth surface without inflicting unwanted scratches or corrosion. This guide outlines key strategies for handling stubborn debris, preserving factory coatings, and boosting the long-term durability of your equipment.
Identifying Blade Materials and Coatings
Before you begin any cleaning procedure, it’s essential to recognize the construction of your plow blade. Most blades fall into one of two categories:
- Carbon Steel: Offers excellent strength but is prone to rust if not properly protected.
- Powder-Coated or Painted Steel: Provides a factory-applied barrier to the elements, reducing the risk of surface deterioration.
Each type demands slightly different handling. A bare carbon steel blade can tolerate more aggressive rust-removal methods, whereas powder-coated blades require gentler approaches to avoid damage to the finish.
Assessing Wear and Tear
Before diving in, inspect the blade for deep gouges, pitting, or signature loss of coating. Use a wire brush or hand scraper to test adhesion—loose paint or rust flakes must be addressed first. Document any major defects, as these might necessitate professional repair or welding before you invest time in cleaning.
Preparation Before Cleaning
Proper prep reduces risks of accidents and ensures maximum effectiveness:
- Park the plow on a stable, level surface. Engage the hydraulics or secure with blocks to prevent movement.
- Gather Personal Protective Equipment: safety goggles, gloves, and a dust mask for abrasive or chemical work.
- Choose an area with adequate drainage or containment to collect runoff, especially when using cleaning agents.
Having everything ready—tools, solvents, rags—will streamline the cleaning process and help you avoid damaging the blade because of hurried, last-minute adjustments.
Cleaning Methods for Plow Blades
1. Mild Soap and Water Wash
For routine maintenance, a solution of warm water and mild detergent is often enough to remove surface dirt and road salt. Follow these steps:
- Mix detergent in a bucket of water until sudsy.
- Use a soft-bristle brush or non-abrasive pad to scrub the blade evenly.
- Rinse thoroughly with a low-pressure hose to avoid chipped paint or coating.
This approach minimizes risk of surface harm and is ideal for frequent upkeep.
2. Pressure Washing with Caution
For stubborn mud or crusted material, a pressure washer can be a powerful ally. However, keep the nozzle at least 12-18 inches away from the blade and use a wide-angle spray. Excessive pressure or a narrow stream may score the metal or peel off protective layers.
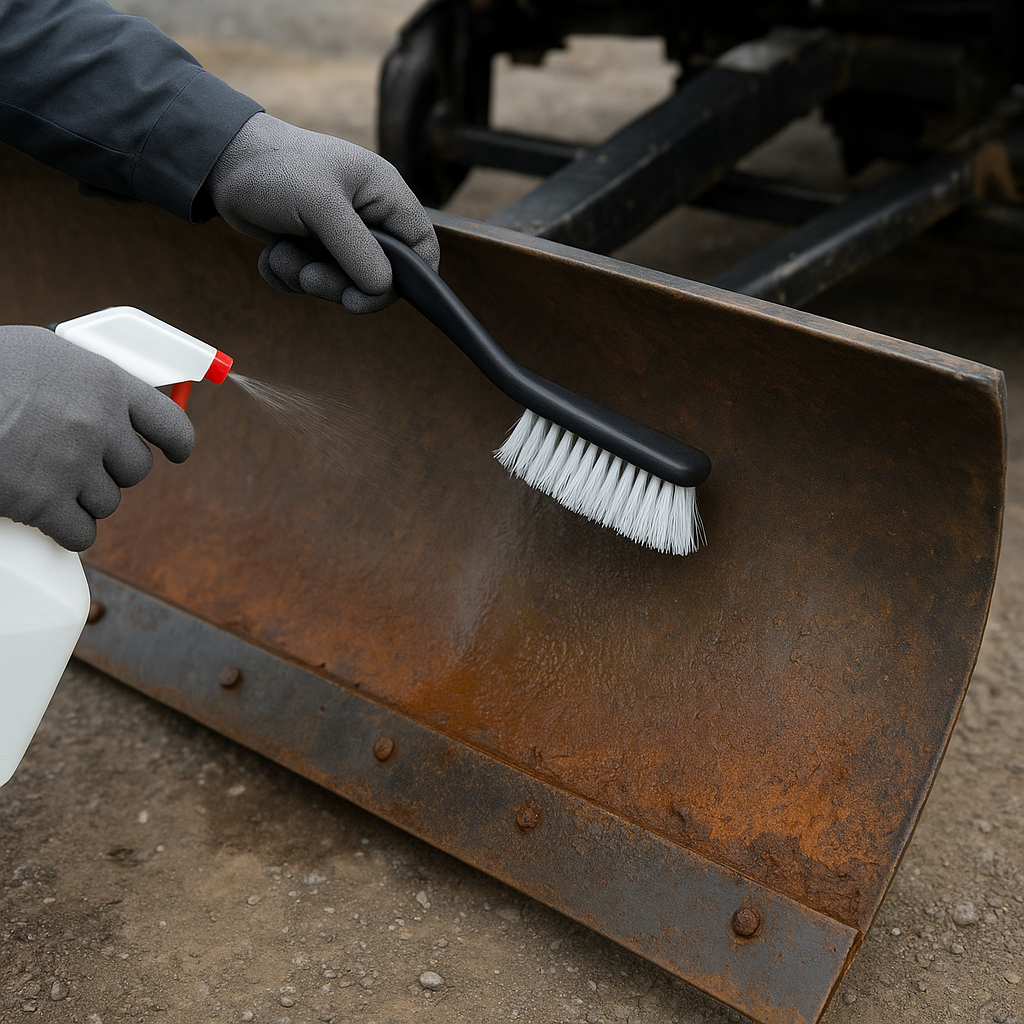
3. Rust and Paint-Flake Removal
When you encounter light rust or flaking paint:
- Apply a commercial rust remover or a DIY blend of vinegar and baking soda to the affected spots.
- Allow the solution to penetrate for 10–15 minutes.
- Gently scrub with a nylon or brass brush—avoid steel brushes that can create deep scratch lines.
Repeat the cycle if needed, but inspect frequently to prevent undermining the blade’s coating.
4. Degreasing Heavy Buildup
Oil and grease can mask hidden damage. Use a biodegradable degreaser, allowing it to dwell for recommended time. Rinse thoroughly to remove residues that could hinder subsequent protection steps.
Preventing Surface Damage During Drying and Inspection
After cleaning:
- Blot excess water with clean towels rather than rubbing to avoid scratch marks.
- Use compressed air to eliminate moisture from crevices, weld seams, and bolt heads.
- Position the blade under sunlight or in a ventilated space to ensure complete drying.
Once dry, conduct a second inspection for fine hairline cracks, chips, or areas where coating is thinning. Early detection can save your blade from premature failure.
Post-Cleaning Protection and Maintenance
Applying Protective Coatings
To safeguard the newly cleaned surface, consider the following options:
- Rust-inhibiting spray or paint touch-up for small scratches.
- High-quality automotive undercoating for more exposed regions.
- Wax-based blade sealants that repel water and road salt.
These treatments replenish the factory finish, restoring your blade’s resilience against corrosion and mechanical wear.
Regular Lubrication and Hardware Checks
Beyond surface protection, ensure pivot points, pins, and mount hardware receive adequate lubrication. A light coat of grease prevents metal-on-metal abrasion and reduces strain on your plow’s hydraulics. Tighten loose bolts to specified torque values to maintain alignment and efficient force distribution.
Safety Precautions and Tool Selection
Your choice of tools directly affects both the cleaning outcome and personal safety. Key considerations include:
- Opt for non-sparking hand tools when working near fuel or grease residues.
- Use chemical-resistant gloves if handling aggressive solvents.
- Select brushes and pads rated for metal surfaces to avoid unintended gouging.
Always follow manufacturer guidelines for any cleaning product and consult the plow manufacturer’s manual for specific recommendations. Sound maintenance practices not only protect investment but also ensure reliable performance when plowing through tough conditions.