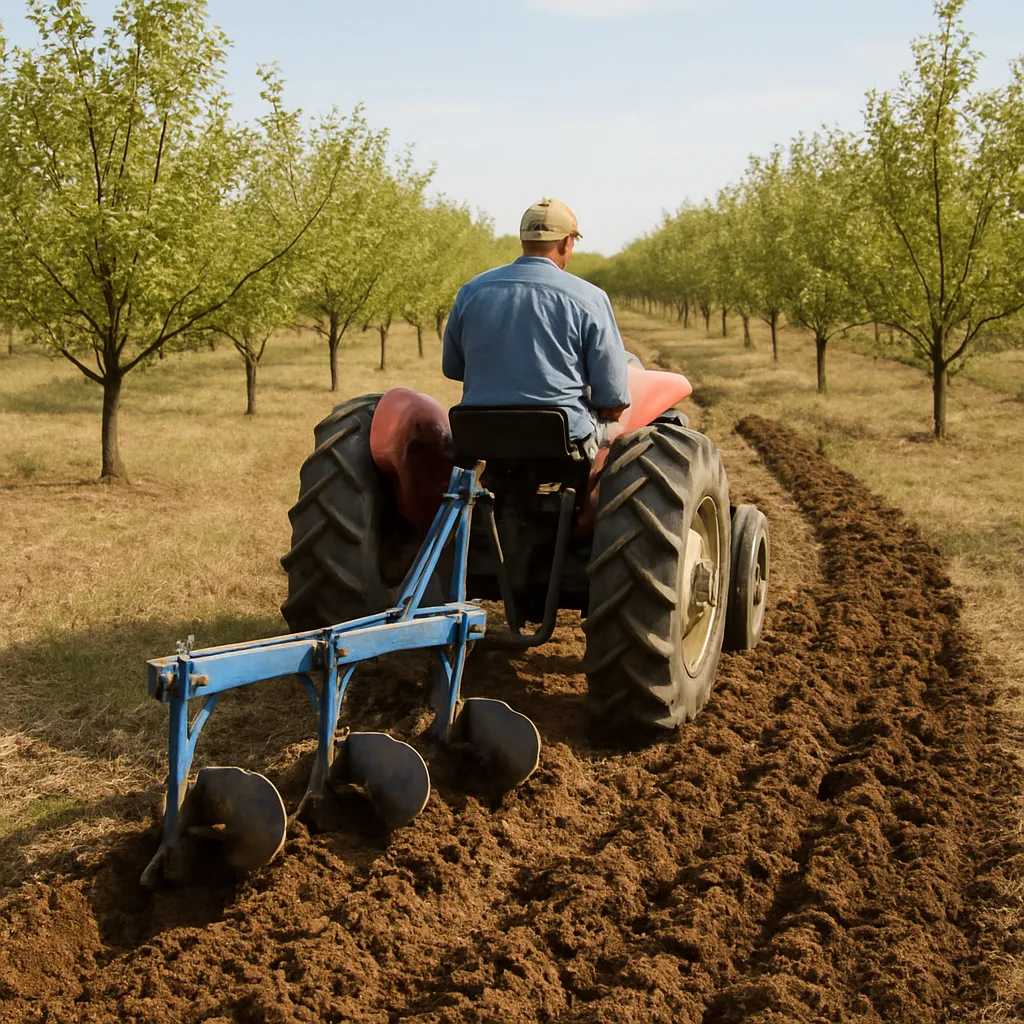
Preparing the ground for a thriving orchard demands more than just planting saplings—it requires strategic plowing that promotes healthy soil structure, prevents subsoil compaction, and ensures optimal nutrient retention. By applying proven techniques and selecting the right tools, growers can unlock greater yields and long-term resilience. This guide explores essential steps and expert tips for using plowing to set the stage for a successful orchard venture.
Choosing the Right Plow Type
Selecting the proper plow is the first critical decision in orchard preparation. Various designs tackle different challenges, from breaking up heavy clay to improving drainage in sandy soils. By matching plow characteristics to field conditions, you can achieve uniform plow depth and avoid common pitfalls such as uneven furrows or equipment stress.
Understanding Soil Texture and Composition
Soils range from coarse sandy loams to heavy clays, each requiring a tailored approach:
- Sandy Soils: A shallow-moldboard plow helps preserve moisture and reduces wind erosion.
- Loamy Soils: A reversible plow balances furrow shape and allows alternating plowing directions to prevent sloping.
- Clay Soils: A chisel or subsoiler plow breaks compacted layers, enhancing water infiltration and root penetration.
Assessing Field Size and Topography
Large-scale orchard projects may benefit from tractor-mounted implements, while smaller plots could be better served by a walk-behind or mounted disc plow. Consider these factors:
- Field slope: Steeper slopes require lighter implements and contour plowing to minimize erosion.
- Obstacle density: Rocks, roots, or buried debris may necessitate a more robust frame and replaceable wear parts.
- Accessibility: Narrow rows or uneven terrain might demand specialized narrow-body plows for maneuverability.
Soil Assessment and Preparation
Before running the first furrow, a thorough evaluation of existing soil conditions is vital. Ignoring compaction, pH imbalance, or organic deficiency can undermine all subsequent efforts.
Conducting Soil Tests
Obtain a detailed soil report—including nutrient levels, pH, and organic content. Use this data to plan amendments and decide on plowing parameters:
- Adjust pH with lime or sulfur to reach the ideal 6.0–6.8 range for most fruit trees.
- Incorporate organic matter such as compost or well-rotted manure to boost microbial activity.
- Address nutrient deficiencies by side-dressing phosphorus and potassium before deep tillage.
Identifying Compacted Zones
Heavy traffic, previous pasture use, or natural layering might have created hard pans that impede root growth:
- Use a penetrometer to measure resistance at various depths.
- Mark zones exceeding 300 psi for targeted subsoiling.
- Plan a two-stage tillage: first a deep ripper to shatter pans, then a finishing plow to create a fine seedbed.
Plowing Techniques for Orchard Soil
Mastering the correct plowing technique ensures even drainage channels, effective weed control, and a loose, aerated profile ready for planting.
Timing and Conditions
Ideal plowing conditions are neither too wet nor bone dry. Aim for a moisture level where soil crumbles under pressure, typically just after rainfall but before the field becomes waterlogged.
- Avoid plowing clay in overly wet conditions—won’t fracture properly and leads to smearing.
- Refrain from working sandy soil when bone-dry to prevent dust clouds and uneven cutting.
Depth and Layer Management
Effective plowing isn’t about depth alone but the uniformity of each pass:
- Set initial passes at 15–20 cm to eliminate surface crusts and incorporate topdressings.
- For compaction layers, follow up with 30–45 cm subsoiling to free deeper strata.
- End with a shallow harrowing or rotavating to level ridges and deliver a fine tilth.
Furrow Orientation and Erosion Control
Row direction influences water flow and soil retention:
- Contour plowing across slopes reduces runoff velocity and soil loss.
- North–south furrows can improve sun exposure and thaw patterns in colder regions.
- Alternate furrow directions each season to break compaction and even out nutrient distribution.
Post-Plowing Soil Management
Once primary tillage is complete, ongoing management will ensure the root development of young trees and maintain soil vitality.
Cover Crops and Mulching
Planting cover crops immediately after plowing delivers multiple benefits:
- Leguminous species fix atmospheric nitrogen, boosting fertility.
- Grasses and cereals protect against erosion and promote fine root channels.
- Rolling or terminating cover crops before orchard planting leaves a uniform mulch layer that conserves moisture.
Irrigation and Drainage Planning
With newly tilled ground, water management becomes crucial:
- Install drip lines or micro-sprinklers at the bed level to prevent surface crusting.
- Grade furrows lightly to direct excess water away from root zones.
- In low-lying areas, dig small trenches or install perforated pipes to reduce waterlogging risks.
Monitoring and Adjusting Soil Health
Regular checks maintain soil performance over time:
- Retest nutrient levels annually to fine-tune fertilizer regimens.
- Observe tillage effects on bulk density and revise plowing intervals accordingly.
- Watch for indicator weeds—some species thrive in disturbed soils and signal missing nutrients or pH issues.