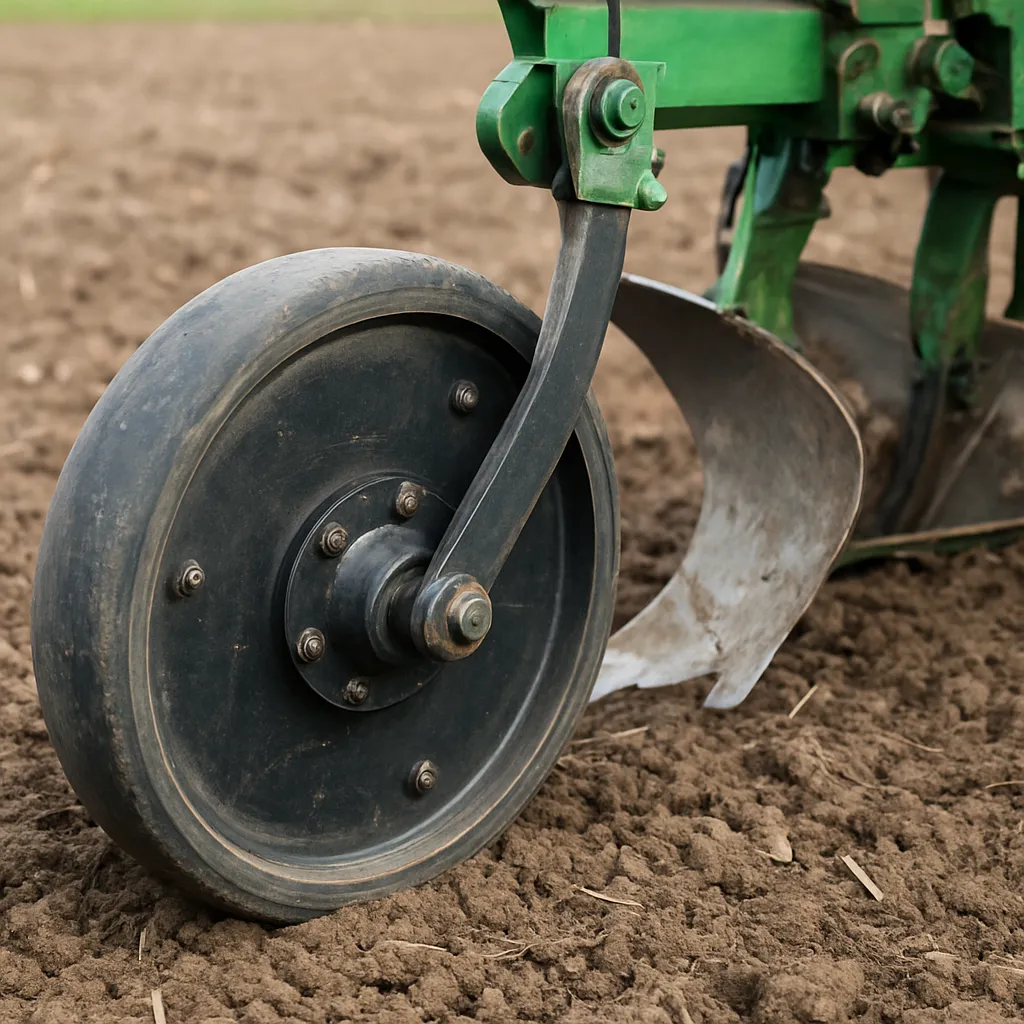
Setting up plow depth wheels correctly is essential for achieving uniform, high-quality furrows while maximizing tractor performance. Proper adjustment not only ensures **efficiency** in soil turnover but also contributes to consistent **traction**, reduced soil compaction, and even wear on your plowing equipment. This guide will walk you through each step to master depth wheel calibration and maintain long-lasting, precise plow operation.
Understanding the Role of Depth Wheels
Depth wheels, sometimes called gauge wheels, control how deep the plow’s shares penetrate the soil. When set correctly, these wheels maintain a constant **depth**, producing uniform furrows and preventing the rear of the plow from dragging. Their primary functions include:
- Stabilization — Keeping the plow frame at a consistent angle relative to the soil.
- Depth control — Limiting how deep the shares cut into the ground.
- Load distribution — Helping balance weight between wheels and plow points.
Ignoring proper depth wheel setup can lead to uneven furrows, increased fuel consumption, and accelerated wear on the plow’s **components**. By understanding their role, you can appreciate why precise calibration is non-negotiable.
Preparing Your Equipment
Before making any adjustments, gather the necessary tools and prepare the plow system for safe calibration:
- Park the tractor and plow on a level, solid surface. Engage the parking brake and shut off the engine.
- Consult the manufacturer’s manual to identify recommended settings for your plow model. These specs often include initial gauge wheel height and clearance measurements.
- Collect tools: wrenches, sockets, measuring tape, leveling device, and a chalk or spray paint for marking.
- Inspect all relevant parts for damage or excessive wear. Repair or replace bent arms, worn bearings, or damaged brackets before proceeding.
Having a clear workspace and the right tools at hand will streamline the adjustment process and reduce the risk of mistakes.
Adjusting the Height Settings
Correct wheel height ensures the plow’s **share** cuts at the optimal level. Follow these steps:
Checking the Plow Share Height
- Set the tractor’s hitch to the recommended working height so the plow frame sits parallel to the ground.
- Measure from the bottom of each share to the ground; this is your baseline working depth. Record these values for comparison.
- If shares differ significantly in height, check for uneven weight distribution or bent components and correct them first.
Setting the Wheel Height
- Loosen the gauge wheel mounting nuts just enough to move the wheel assembly up or down.
- Adjust both sides so the top of each wheel sits slightly above the plow frame—typically 1 to 2 inches above the bottom of the plowbeam. This clearance helps the wheel roll smoothly without rubbing.
- Retighten mounting hardware and confirm wheels move freely without wobbling or binding.
- Recheck share-to-ground measurements. The wheels should bear just enough load that the shares cut at the target depth when the plow is lowered.
When both wheels are set evenly, you’ll achieve uniform **furrow** depth across the entire plow width, crucial for planting consistency.
Testing the Configuration
After adjustments, field testing reveals whether fine-tuning is needed. Follow this protocol:
- Drive into a prepared test strip at your normal plowing speed. Observe how the wheels run and how the plow enters the soil.
- Inspect the furrow profile: depth, width, and soil turnover. Use a ruler or depth gauge to confirm measurements match your target depth.
- Check for signs of wheel **slip** or excessive skidding, which indicate too much load on the wheels or misalignment.
- Adjust the top link of the tractor three-point hitch for minor pitch changes. Slightly raising or lowering this link can balance the plow’s front-to-back angle without altering wheel height.
- Repeat testing until the furrow profile is consistent across multiple passes and soil conditions.
Maintenance and Troubleshooting
Regular maintenance ensures your depth wheels continue performing at peak levels:
- Lubrication — Grease wheel bearings periodically to prevent binding and reduce wear.
- Visual inspection — Look for cracks, bent supports, or rust that could compromise wheel stability.
- Bolt tension — Confirm all fasteners remain tight after every 20 hours of operation.
- Replacement parts — Stock spare bearings, bushings, and mounting hardware to minimize downtime.
If you encounter persistent issues, such as uneven depth across pass lines, review the following common causes:
- Unequal hitch height — The tractor’s three-point link arms must be parallel for balanced weight distribution.
- Worn wheel bushings — Excessive play will cause depth inconsistency under load.
- Soil variability — Hardpan or rocks may push the plow out of depth; consider adjusting speed or using a stabilizer bar.
- Improper tire pressure — Tractor tire pressure affects draft force and can alter how the plow sits; maintain manufacturer-recommended PSI.
Advanced Calibration Techniques
For operators seeking precision beyond basic adjustment, consider these techniques:
- Laser leveling — Use a rotating laser to align the plow frame perfectly horizontal before setting wheel height.
- Weight distribution testing — Place scales under each tire to measure push-down force variations and adjust ballast accordingly.
- Data logging — Attach GPS and depth sensors to monitor performance trends and make data-driven tweaks.
These methods help professional farmers and contractors achieve **consistent**, high-quality plowing in diverse field conditions.