Achieving consistent furrow depth is a cornerstone of efficient fieldwork, influencing seed placement, moisture retention, and overall crop performance. Testing plow depth accuracy ensures your equipment performs at its peak, reducing wasted time and preventing yield loss. This guide outlines the essential strategies, tools, and procedures to help you maintain a reliable plowing routine.
Preparation and Preliminary Checks
Before venturing into the field, a few preliminary tasks are crucial for accurate measurement. Skipping these can lead to uneven trenches and inconsistent seeding conditions.
Selecting a Representative Field Area
Choose multiple spots across your field that reflect typical soil conditions—avoid soggy patches and extreme slopes. This diversity helps you assess how your plow performs under varying circumstances.
Inspecting the Plow and Tractor Settings
- Check implement attachment points for wear or damage.
- Verify that the tractor’s three-point hitch is properly levelled and secured.
- Ensure hydraulic connections are leak-free and pressure settings meet manufacturer recommendations.
Gathering Essential Tools
For precise measurement, assemble a toolkit consisting of:
- A rigid straightedge or metal bar at least two meters long
- A calibrated depth gauge—digital or analog
- Wooden stakes or flags for marking test locations
- A tape measure with millimeter markings
- A notebook or digital device for recording data
Step-by-Step Depth Testing Procedure
Following a systematic approach guarantees consistency. Each test should be repeated at least three times in every test zone.
Marking and Plowing Test Strips
- Place stakes at the start and end of a 10-meter test strip.
- Record initial GPS coordinates or field landmarks to replicate testing locations.
- Operate the plow at normal working speed, maintaining steady forward motion to avoid depth fluctuations.
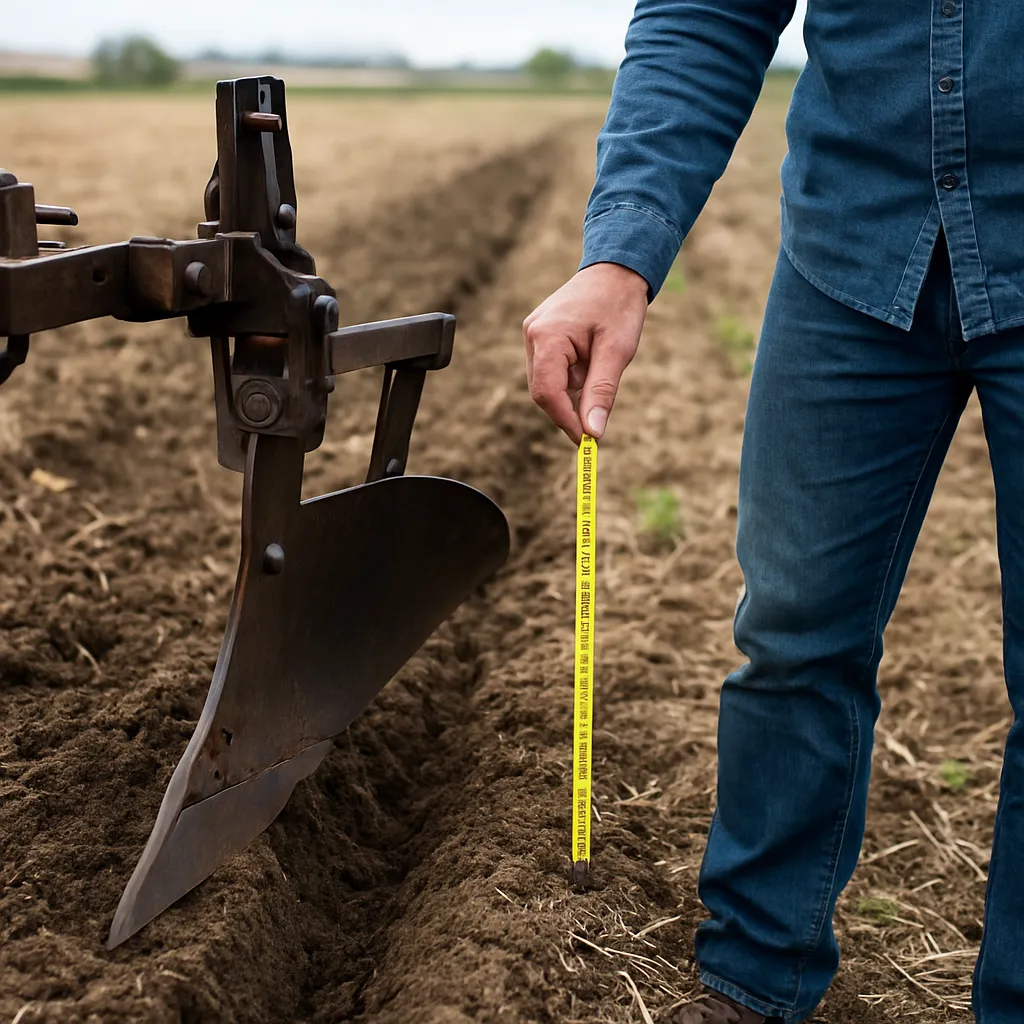
Measuring Actual Plow Depth
Once a test strip is plowed, immediately measure:
- Total depth at 1-meter intervals along the strip using the gauge.
- Distance from the soil surface to the bottom of the furrow.
Record each reading carefully. If possible, have a helper read measurements while you stabilize the straightedge.
Calculating Accuracy and Variance
Use the following formula to determine depth error for each point:
Error (cm) = Measured Depth – Target Depth
- Average the error values across all points.
- Calculate standard deviation to gauge consistency.
An error margin within ±1 cm is generally acceptable, but goals may vary based on crop type and soil conditions.
Advanced Techniques and Calibration
For high-precision requirements, integrate technology-driven methods and routine calibration.
Using GPS and Depth Sensors
- Install a depth sensor on the plow beam linked to a GPS receiver.
- Monitor real-time furrow depth on a tractor-mounted display.
- Automate hydraulic adjustments to maintain consistent depth on sloping terrain.
Gravity-Based Calibration
This low-tech method leverages known weights and pivot points to confirm hydraulic cylinder extension matches expected travel distance.
- Attach a weight at the plow tip and measure cylinder stroke.
- Compare with manufacturer’s displacement charts.
- Adjust linkage geometry or grease points to eliminate play.
Routine Maintenance for Consistency
Even the best calibration can drift over time. Establish a maintenance checklist that includes:
- Monthly inspections of hitch pins and bushings for excessive wear.
- Quarterly hydraulic system pressure checks.
- Seasonal plow share sharpening to ensure clean soil penetration.
Interpreting Results and Making Adjustments
After collecting data, apply these insights to fine-tune your setup and field technique.
Assessing Soil Variability
Significant differences in depth across test strips often indicate changes in soil texture or compaction:
- Hardpan zones may require deeper or more aggressive shovel angles.
- Loamy areas could allow for faster travel speeds with shallower settings.
Adjusting Hitch and Hydraulic Settings
If average depth is too shallow:
- Lower the hitch height or increase hydraulic draft to exert more downward force.
- Verify coulter depth if equipped.
If average depth is too deep:
- Raise the hitch or reduce draft pressure.
- Narrow the spacing between shanks to distribute force more evenly.
Documenting Changes for Future Reference
Maintain a field journal that logs:
- Weather conditions and soil moisture at testing time.
- All adjustments made and resulting depth changes.
- Notes on crop performance post-planting.
Over time, this archive becomes an invaluable resource for anticipating equipment behavior under similar conditions.