Repairing a worn-out plow share is a critical skill for any farmer or agricultural professional seeking to maintain optimal soil turnover and achieve uniform seedbeds. Proper restoration not only extends the lifespan of your equipment but also ensures efficient fuel consumption and consistent field results. This guide delves into practical tips, step-by-step procedures, and expert insights to help you bring your plow shares back to top condition.
Basic Assessment and Preparation
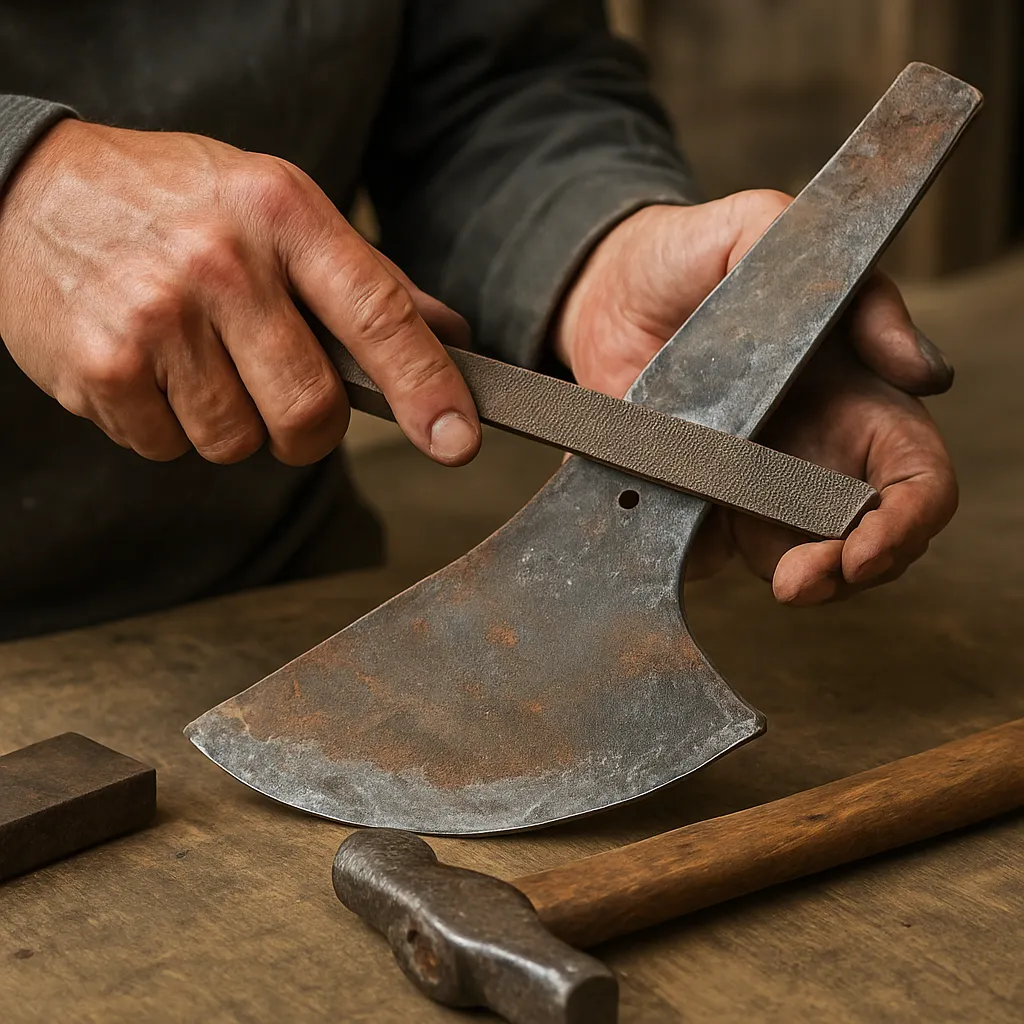
Before you dive into restoration, take time for a thorough inspection. Identifying the extent of damage on a plow share is essential for determining whether a simple touch-up or a full rebuild is needed.
Tools and Materials Needed
- Angle grinder with various grinding and cutting discs
- MIG/TIG welding machine and compatible electrodes
- Measuring tools: calipers, straight edge, protractor
- Chipping hammer and wire brush
- Personal protective equipment: face shield, gloves, ear protection
- High-quality replacement steel plate or wear bars
- Heat treatment furnace or torch setup for preheating
- Rust inhibitor spray or primer
Safety Precautions
- Always wear eye protection when grinding or welding to guard against hot sparks.
- Use proper ventilation to avoid inhaling toxic fumes from paint, rust inhibitor, or electrodes.
- Clamp the plow share securely to prevent movement during grinding or welding operations.
- Keep a fire extinguisher nearby to tackle accidental fires promptly.
- Inspect cables and hoses on welding equipment for wear or damage before use.
Repair Techniques for Worn-Out Shares
Once your work area is set and safety measures are in place, follow these proven methods to restore the share’s cutting edge and structural integrity.
Grinding and Sharpening
Grinding is the first step in removing excessive wear and achieving the correct bevel angle. Focus on creating a consistent edge:
- Start with a coarse disc (36–60 grit) to strip away major irregularities.
- Check the original bevel angle, typically between 20–30 degrees, depending on soil type.
- Switch to a finer disc (80–120 grit) for finishing, ensuring a sharp, crisp edge.
- Maintain a smooth, even motion along the share to avoid creating weak spots.
Welding and Build-Up
If the share has grooves, pits, or worn-down areas, a build-up welding process can restore metal thickness:
- Preheat the share to 300–400°C to reduce stress and prevent cracking. Use a propane or oxy-acetylene torch.
- Apply a layer of high-carbon weld wire or electrodes designed for abrasion resistance.
- Lay down successive beads, allowing each layer to cool partially for optimal adhesion.
- After welding, grind the surface back to the required profile, re-establishing the correct bevel.
Heat Treatment and Hardening
For durability and long-term performance, heat treatment can significantly improve wear resistance:
- Quench the share in oil or water to harden the steel after welding.
- Perform a tempering process at 200–250°C to reduce brittleness while retaining hardness.
- Ensure uniform temperature distribution during both heating and cooling phases to avoid warping.
Choosing and Installing Replacement Components
Sometimes repair isn’t enough, and installing a new share or wear plate is the most efficient option. Follow these guidelines to ensure proper fit and function.
Selecting the Right Material
Different soils and field conditions demand specific steel properties:
- High-alloy steel resists abrasive soils with heavy sand content.
- Cast iron shares excel in softer, loamy soils but may chip under extreme impact.
- Carbide-tipped shares provide performance longevity in rocky or stony fields.
Alignment and Installation
Correct alignment of the share with the plow moldboard is crucial for efficient soil flow and reduced draft:
- Use a straight edge along the share face to verify flatness against the moldboard.
- Adjust the draft link height to maintain a 2–4 mm clearance between share and moldboard.
- Tighten all fasteners to the manufacturer’s torque specifications to prevent slippage.
- Check lateral alignment so the share edge is perpendicular to the plow beam.
Post-Repair Maintenance and Best Practices
Regular upkeep extends the service life of your plow share and maintains consistent cutting efficiency across every pass.
- Inspect the share after every 50 hectares of use for early signs of restoration need.
- Keep the share free from caked mud or debris that can accelerate wear.
- Apply a rust inhibitor or light coat of oil if plowing is paused for longer than 48 hours.
- Store plow units in a covered area to shield them from moisture and UV exposure.
- Re-grease pivot points on the plow frame to maintain smooth adjustments.
Preventing Future Wear and Extension of Service Life
Implementing preventive measures helps you avoid frequent downtime and costly repairs, ensuring your equipment remains in peak condition.
Proper Plow Setup
- Match furrow width to soil conditions; overly deep or wide settings increase draft and wear.
- Balance plow units evenly on both sides to prevent twisting loads and uneven alignment.
- Fine-tune the tilt and angle of attack to reduce slippage and improve penetration.
Soil Conditions and Adjustments
- Monitor soil moisture; excessively dry soil increases abrasion, while overly wet soil causes clogging.
- Adjust plowing speed—too fast can cause bounce, too slow may lead to poor inversion.
- Rotate fields with cover crops to reduce ground abrasion and maintain a smoother plow finish.
Operator Training and Technique
- Train operators on correct depth control and consistent speed regulation.
- Encourage periodic stops to inspect shares for damage during long runs.
- Promote awareness of field obstacles such as rocks, roots, and debris to minimize impact hits.